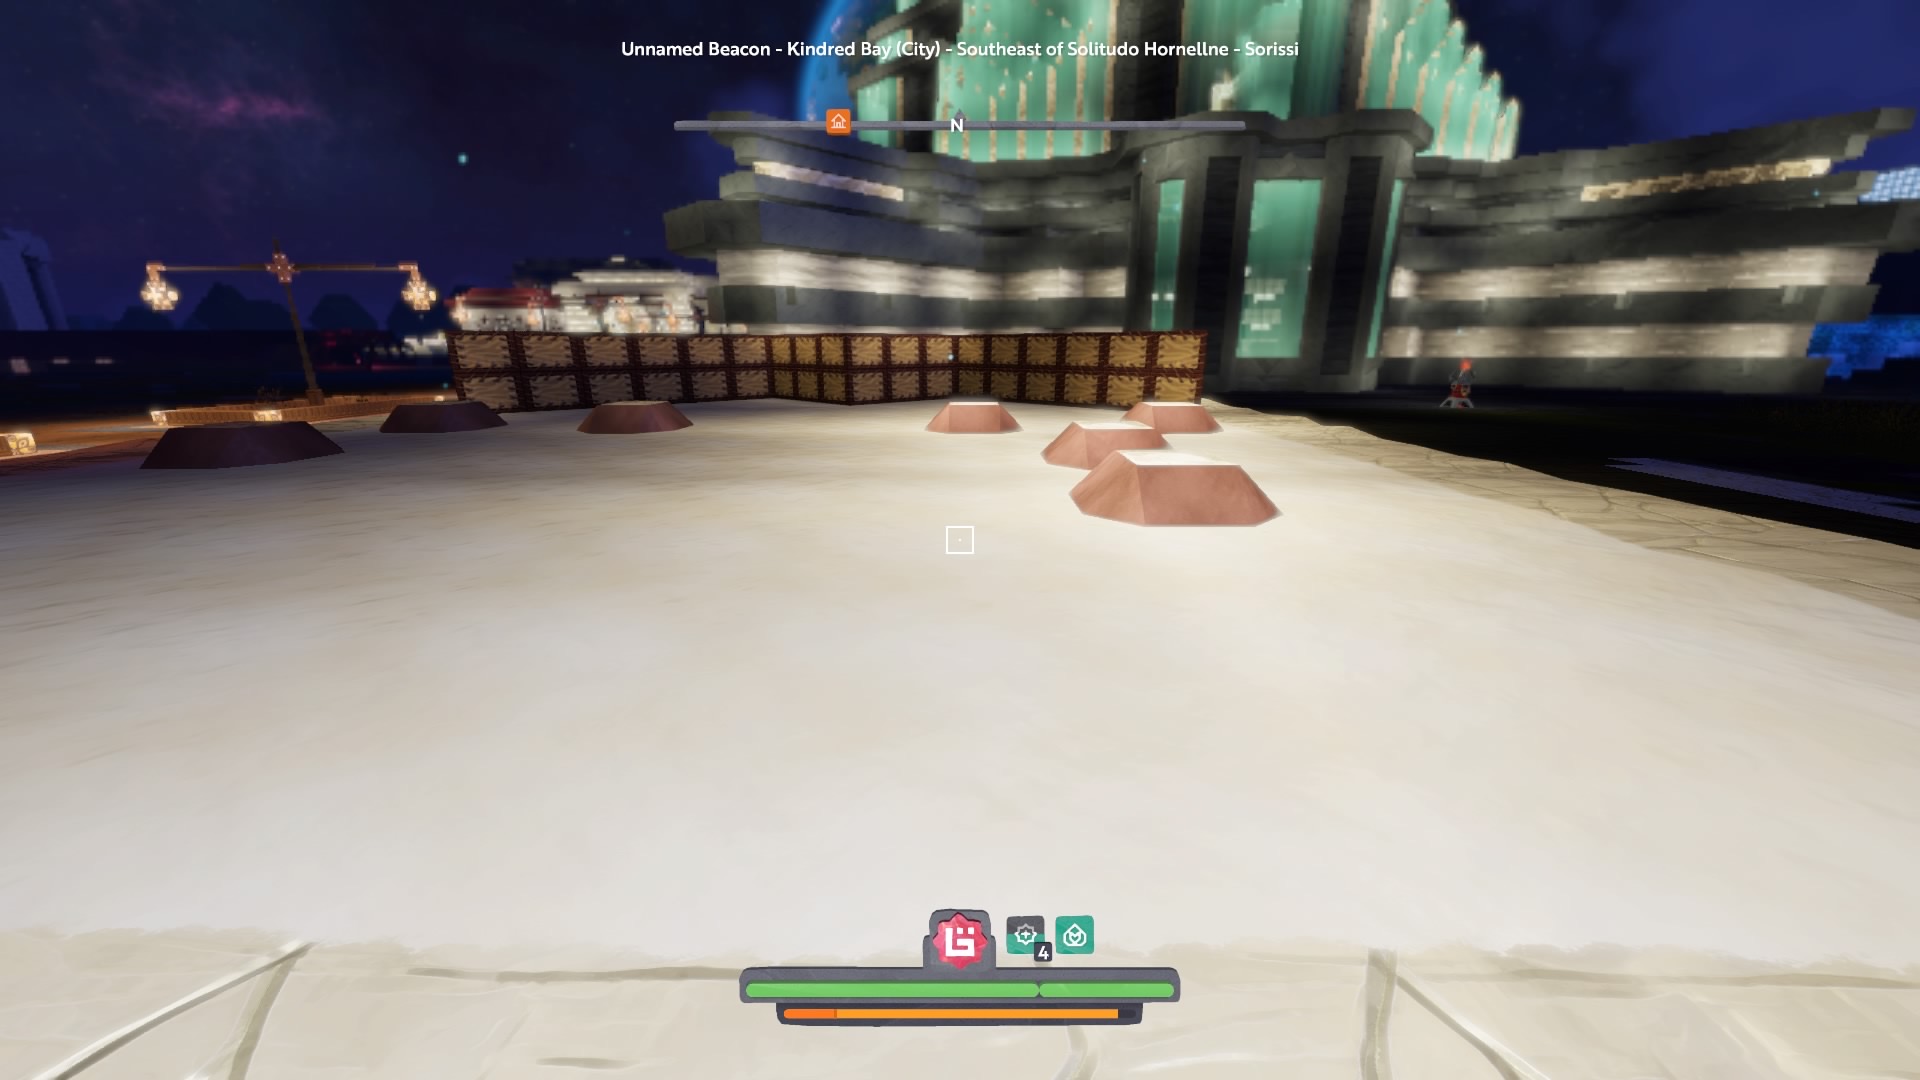
I finally reworked my long-abandoned spoort concept I call shuffleboort! I gave up originally when the scoring zones were just different color ice on the same plane and found out you can stop abruptly in a zone by creeping. So this design eliminates any chance at cheating:
It’s as simple as can be. You stand at one end, grapple the bouncy wall, and fling yourself at it with just the right amount of speed to land you safely on a scoring pad. In the layout above, the pads closest to the wall are 1 point each, the next one is 3, and the back one is 10. I have yet to hit that one but I’m sure it’s possible.
This is the first layout I thought of. I will continue to come up with ways to make it more fun and competitive. If anyone would like to join me in refining the game, whether testing ideas head to head or building your own and sharing new developments, you’re very welcome to. We need more immersion and engagement in the in-game community and a non-violent spoort (sorry dodgebomb) with potential for rankings and scheduled matches could go a long way. Plus I’m  at the thought of building stadiums/arenas that can actually be put to use.
If you want to check out the alpha version in the pic and I’m not online, just take the TNT sovereign portal to HSE HQ then the Kindred Bay portal on the opposite side of the clocktower. It’ll be down on your left once in KBay.
Edit to add: I was using unforged titanium grapples and was safe with 2 points in fall protection. I was taking a lot of damage without those points.
22 Likes
Update on the game.
It’s turning out to be more legit than I even expected. The difficulty level from my experience is along the lines of actual shuffleboard or beer pong.
PROVE ME WRONG!
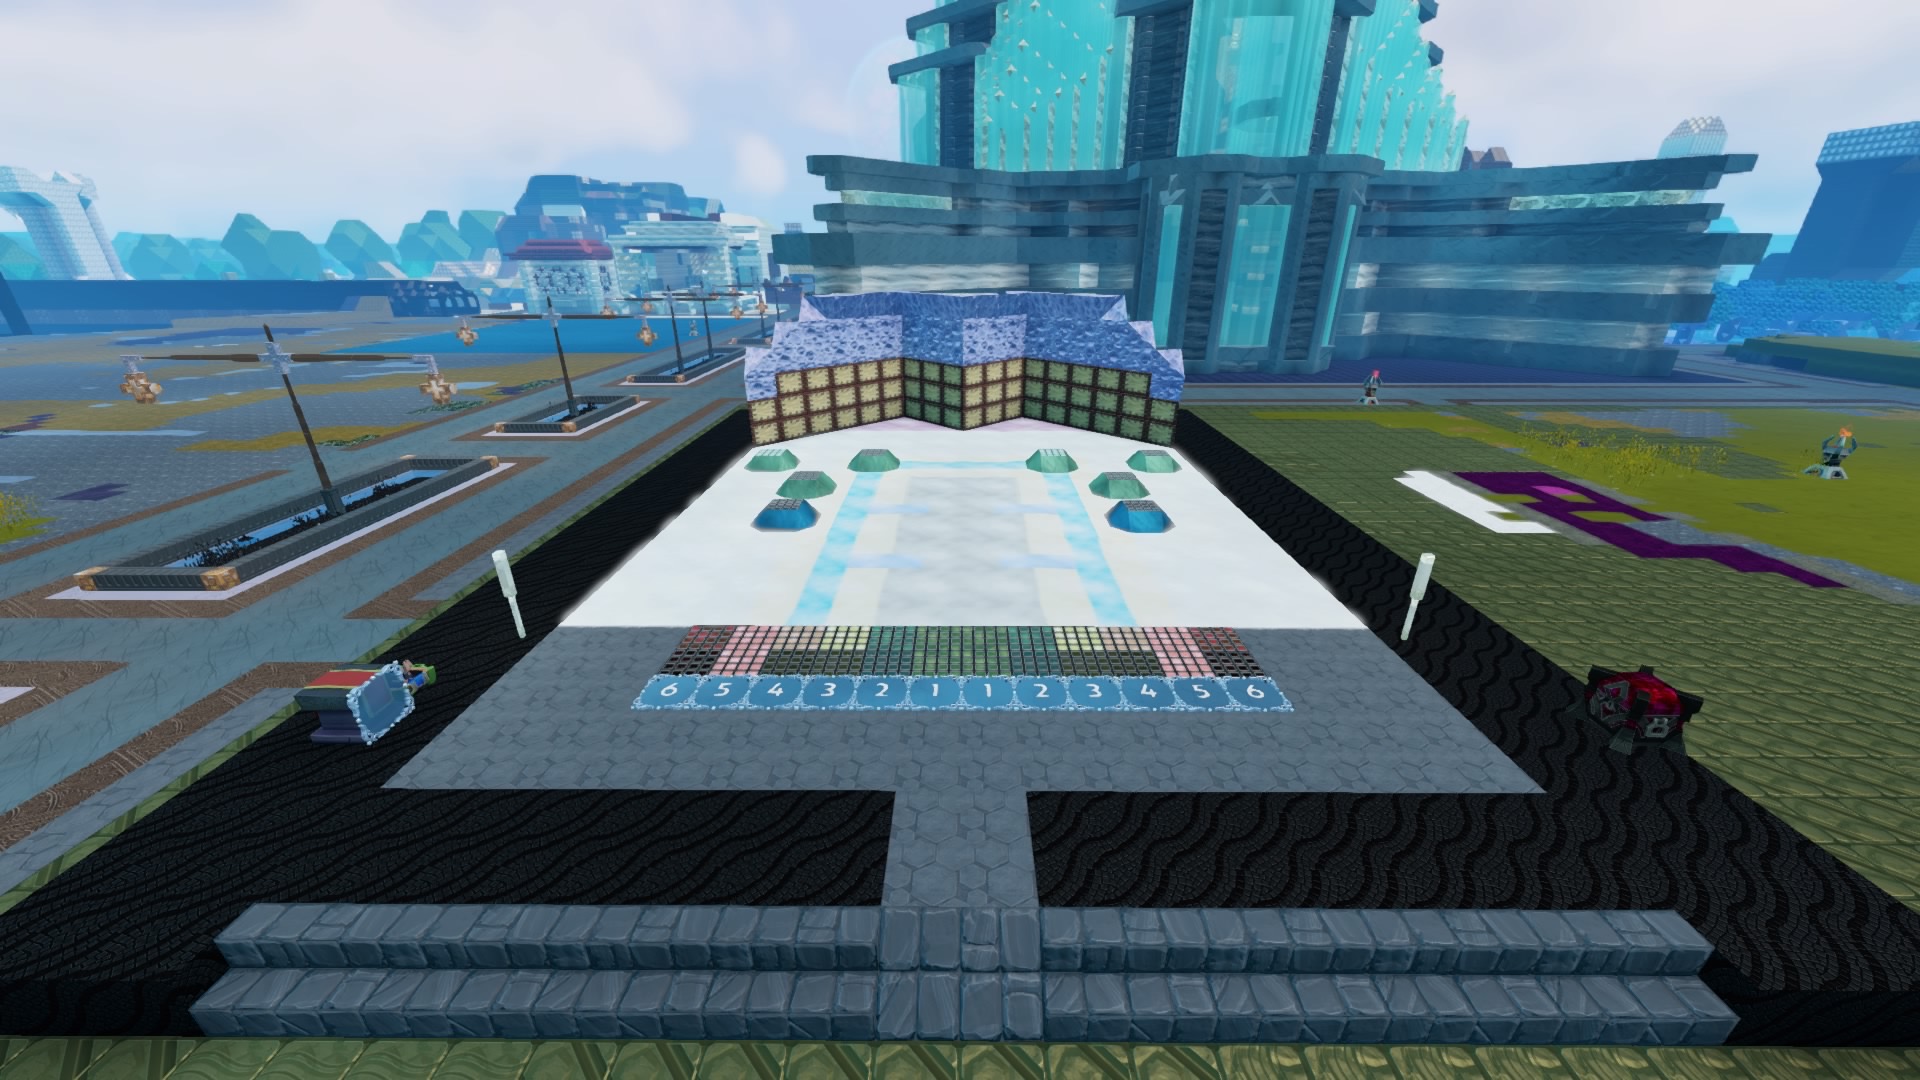
With the numbered spaces, a true strategy comes into play. My current version of the game flows as follows:
- Higher ranked player (or home court) starts the match/round. Throughout the round, whoever has the lead shoots first.
- Start at 1, alternating shots to 6, then from 6 back to 1. 12 total shots per player.
- Each match is 5-10 minutes. For official matches I’d say best of 3 rounds wins.
- Whoever wins round 1 leads off round 2. If it comes to round 3 (tied 1-1), the higher ranked leads off the 3rd.
- 3 green scoring pads up front are each worth 1 point, blue pad is worth 5.
- All shots have to hit the trampoline wall first.
Basic strategy:
- Always shoot toward the middle. If you hit the slope of a scoring pad your shot will be wild, so your angle has to avoid them.
- Consistency wins the match. You can go for the 5 all you like but your opponent could be hitting one after another and beat you 6-5 if you hit, or shut you out because the fiver is tough.
- At shots 1 and 2, you just need to point straight at the wall and you will be lined up with a scoring pad. Just need the right amount of power.
- Shots 3 and 4 are a little tougher but still give enough space for a nice shot. These two also happen to be the best for the 5-point shot.
- Shots 5 and 6 are the hardest to get the correct angle, and seem impossible to hit the fiver, but they offer a great opportunity to score some unanswered points.
More advanced strategy (imagine a match between pros):
- Shots 1 and 2 should be a quick 2 points to start (again, for pros… I’m not even good enough yet to consistently hit both).
- If you have the lead, you should go for a 1-point on shot 3 to build on that lead. I’d say at this point if you’re trailing 1-0 and the lead off misses their 3rd, keep it simple with the 1-point. If you’re down 3-0 already on your 3rd shot you might want to go for the 5-point.
- Shot 4 is the best for the fiver, slightly easier than shot 3. On the front half, both players should be shooting for 5 points.
- Shots 5 and 6 are the hardest but still possible. You actually hit the outside 1-pointer (far left/right in the pic) more from these zones. If you’re losing, this is the time to try hard for some single points to get back in the game. If you’re winning, you can try to extend your lead here. You get two consecutive shots from zone 6 here so if you whiff on the first one (it’s easy to shoot too close to the center when avoiding scoring pad slopes, sending you straight back up the middle), you can adjust your 2nd shot.
- Shot 4 on the back half is where it gets interesting. You have to look at the score and consider if you’re confident enough that you will hit the last two (shots 1 and 2), and whether or not your opponent will hit them. If you have the lead and think it’s best to build on it with single points, they might hit a 5-point and take the lead. There’s a lot more I can say on the strategy from this shot in different scenarios but I’ll cut it off here.
- Shot 3 is similar to shot 4 but this time with much more urgency. These two shots on the back half can make or break the game.
- Shots 1 and 2 now can be intense in a close round, or next to meaningless if the leader is up by more than 2. I have never seen a 5-pointer from either of these shots. The significance of these shots lies more in the strategy leading up to them, since you have to judge your own consistency against that of your opponent to determine the expected outcome.
In the event of overtime, competitors alternate shots from shot 3. First to hit it wins, but the 2nd shooter gets a chance if the 1st shooter hits first. The player who shot 2nd to start the round leads off in OT, then the lead-off alternates each shot. So if the champion started the main round and it goes to OT, the challenger starts OT. If both miss, it goes champion then challenger, challenger then champion and so forth.
Official rankings won’t start until more people are interested, so come get your practice in against me in amateur matches!
7 Likes