Just a little trick I worked out that I wanted to share. Given some of the other simple things I am realising I didn’t know still after 900 odd hours, it’s probably old news to most but just in case.
If you want to use a natural rock for the texture but dislike the wonky lines that adjoining rock blocks produce you can force a straight line like processed blocks with a bit of trickery. For example to build a not-wonky wall:
Place your rock blocks where you want them
Chisel the back side of the block once
(Optional) Add another row of blocks masking the chiselled back and chisel their backs too.
This seems to consistently force a true cube and therefore straight edges.
Nice thread, good tip!
Another thing this does is get rid of the blended textures as well!
I used this mechanic to solve both of these issues on the community storage building in Black Light where the walls meet the foundation.
It looks so much better with perfectly straight edges and no texture blending
There is a easier way to fix texture blending but it requires messing with shaders and textures. I’m sure it’s possible but would depend if the devs wouldn’t mind me giving it a go.
Personally I’d rather a seperate toggle for grass vs foliage density. It’s maddening.
Wonder if I asked @james nicely if we’re allowed to work on texture packs yet? I’d love to mess with glass in particular, make the border on the block about 80% less bold or at least 50% opaque.
Raw materials bleed slightly into surrounding blocks, especially refined or chiseled blocks. It isn’t accidental. It’s to encourage players to not leave them raw when placing them.
Oh I know about that, but messing with graphics settings or texture packs only makes it look different to me, which I care less about than how other people see it.
I try to see the world as default as I possibly can so I know how other people see my build. I saw someone in a thread somewhere that said something to the effect of being able to use the texture of diamonds to build a house and looks great but to everyone else its an ugly dirt monstrosity
Perhaps an extreme case but I think you get what I mean
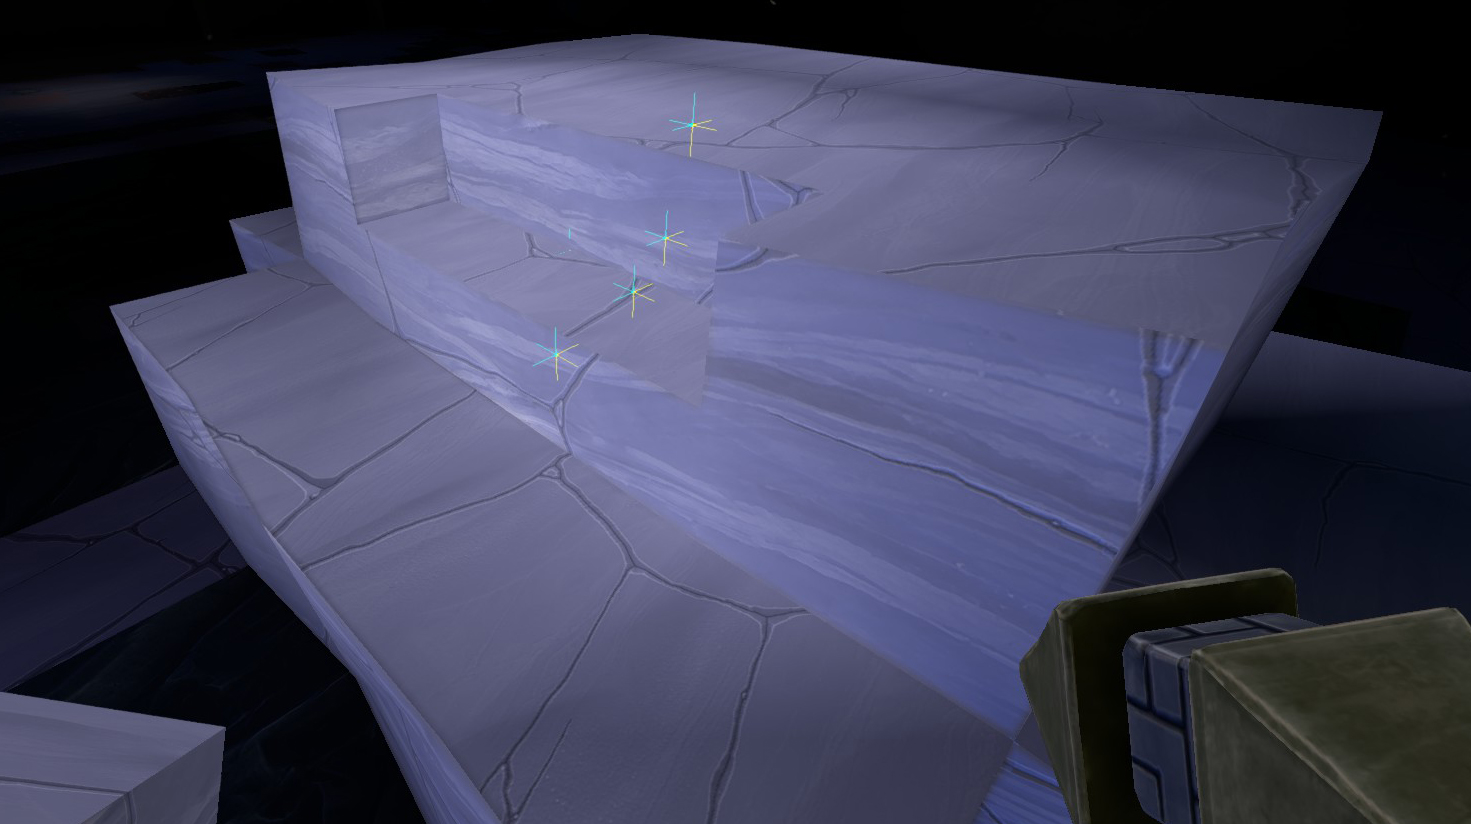
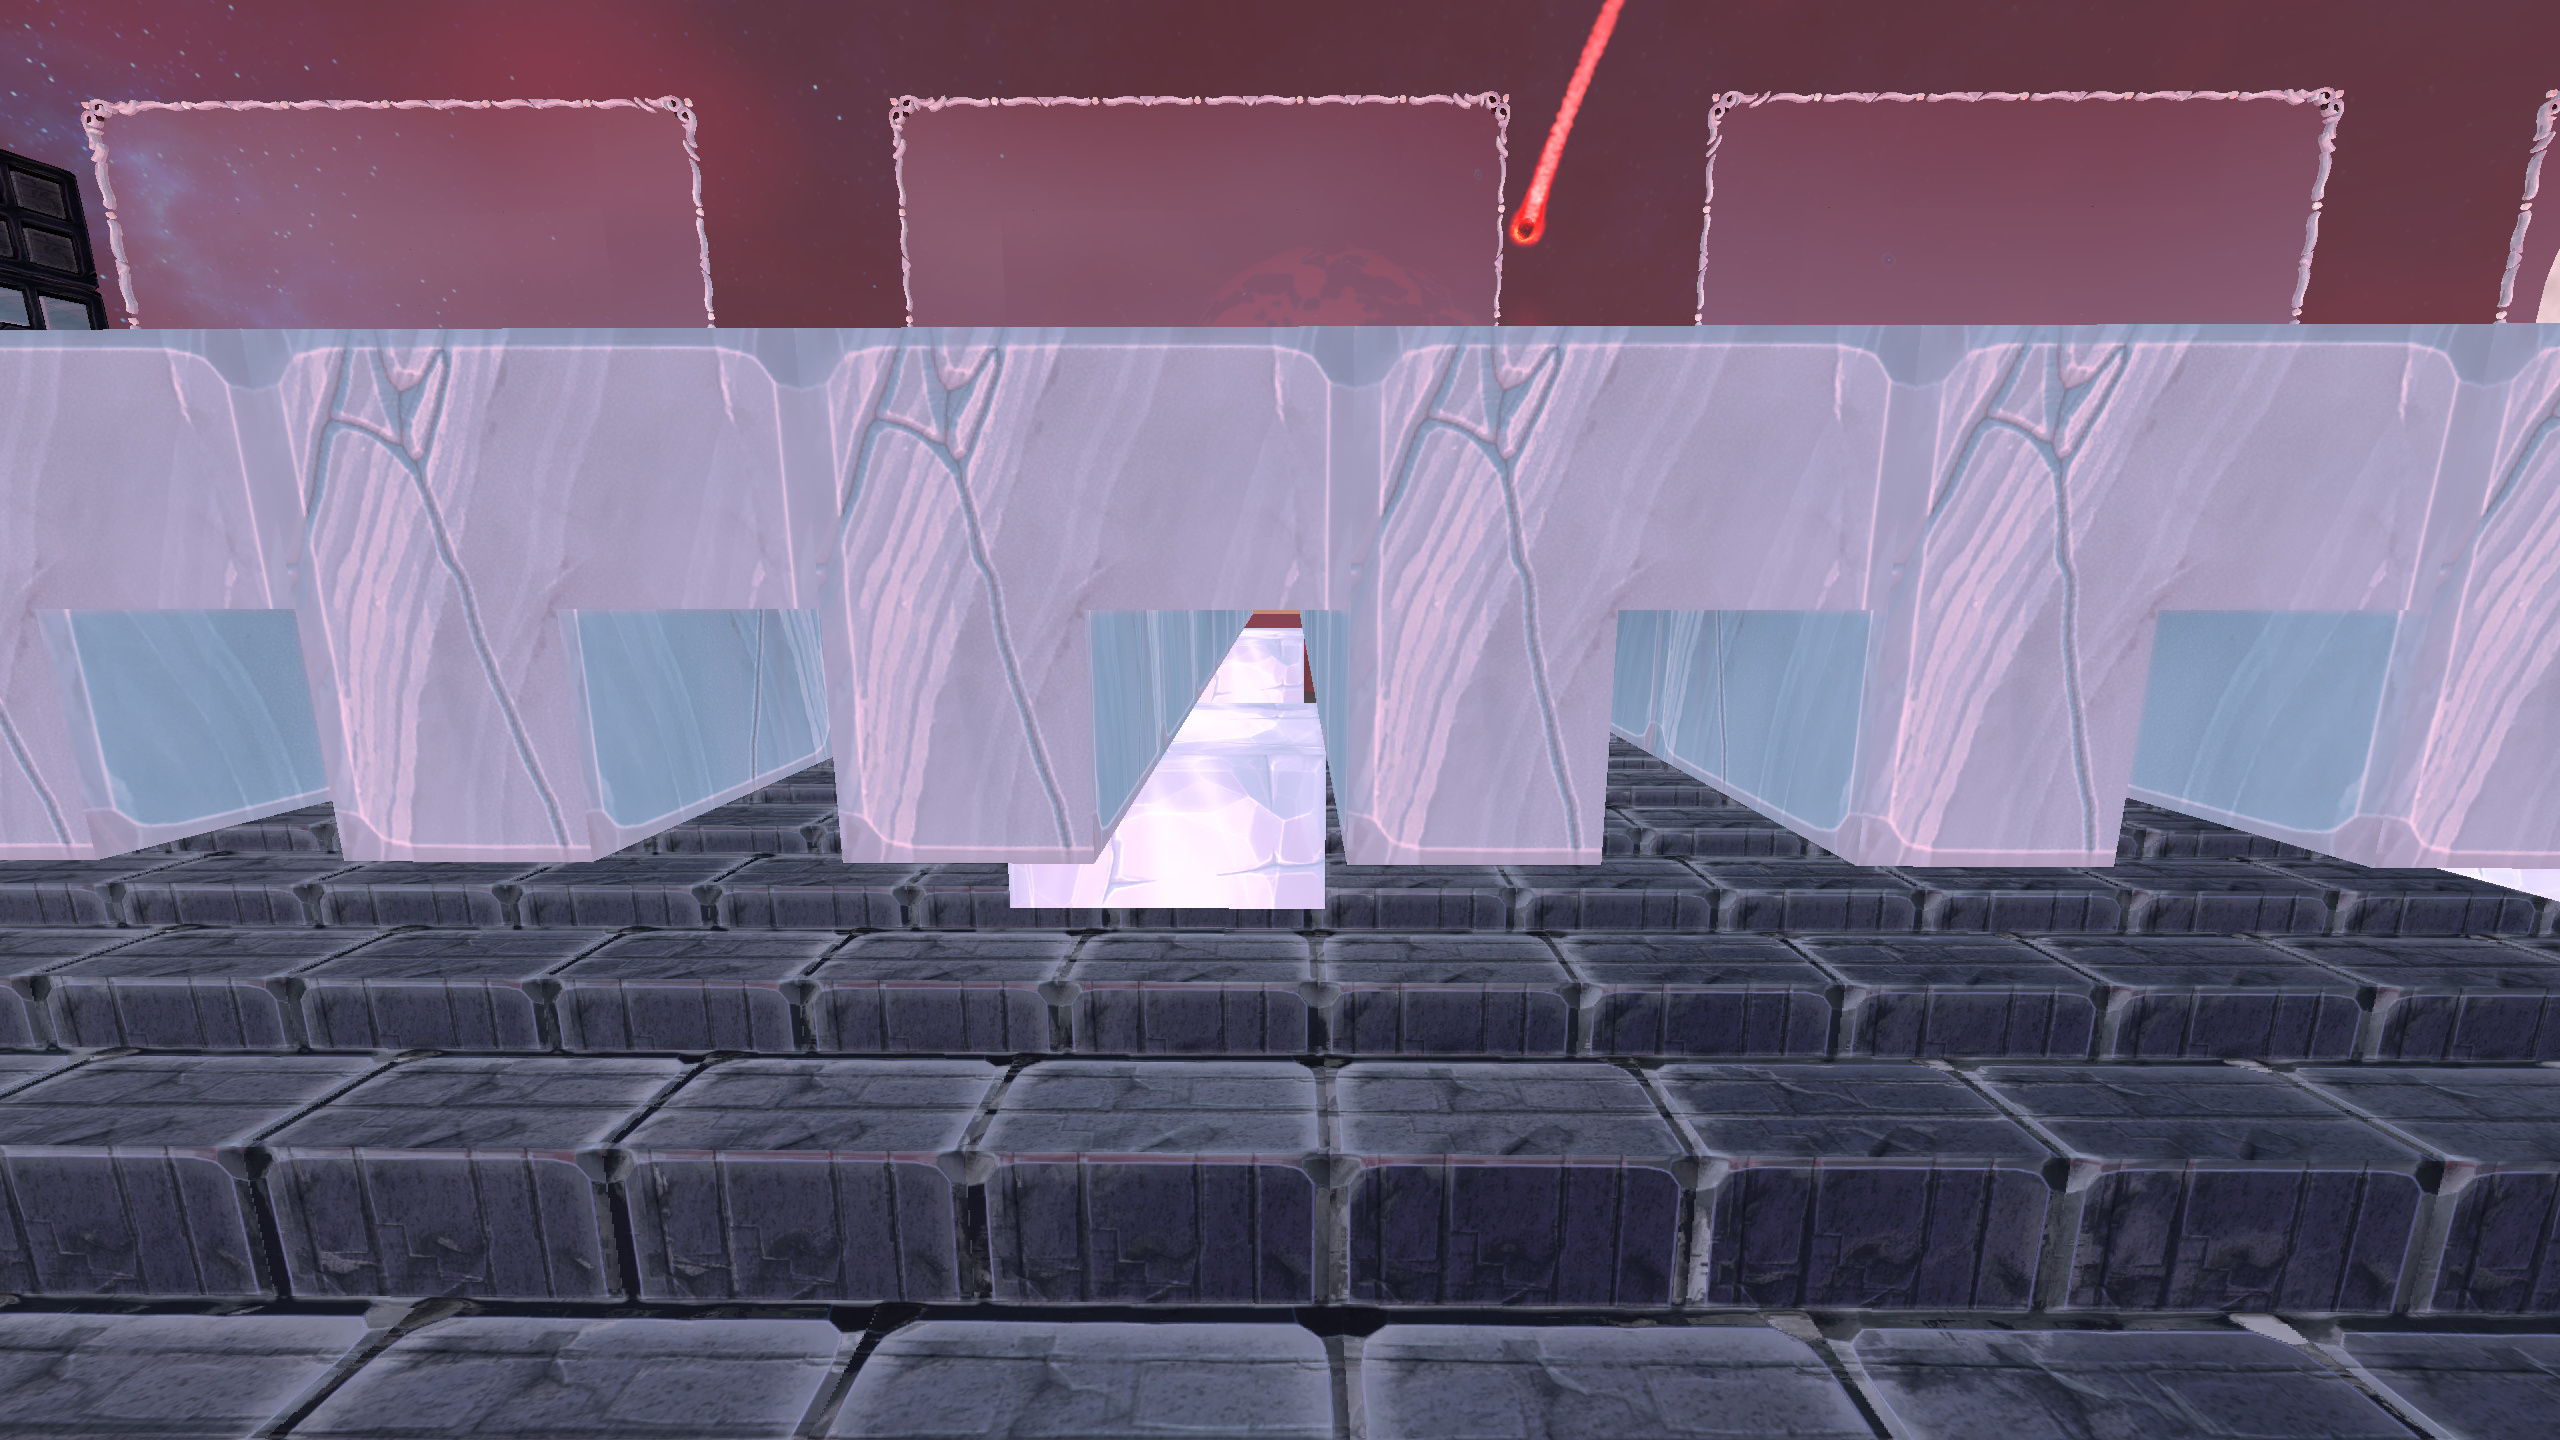
For anyone else in future reading this, I’ve been experimenting with this. It works fine for stairs as shown but is not so effective on floors. I’ve got a floor now that is underlit but to let the light through you have to chisel underneath one side and on top the other side, e.g.
#_
~#
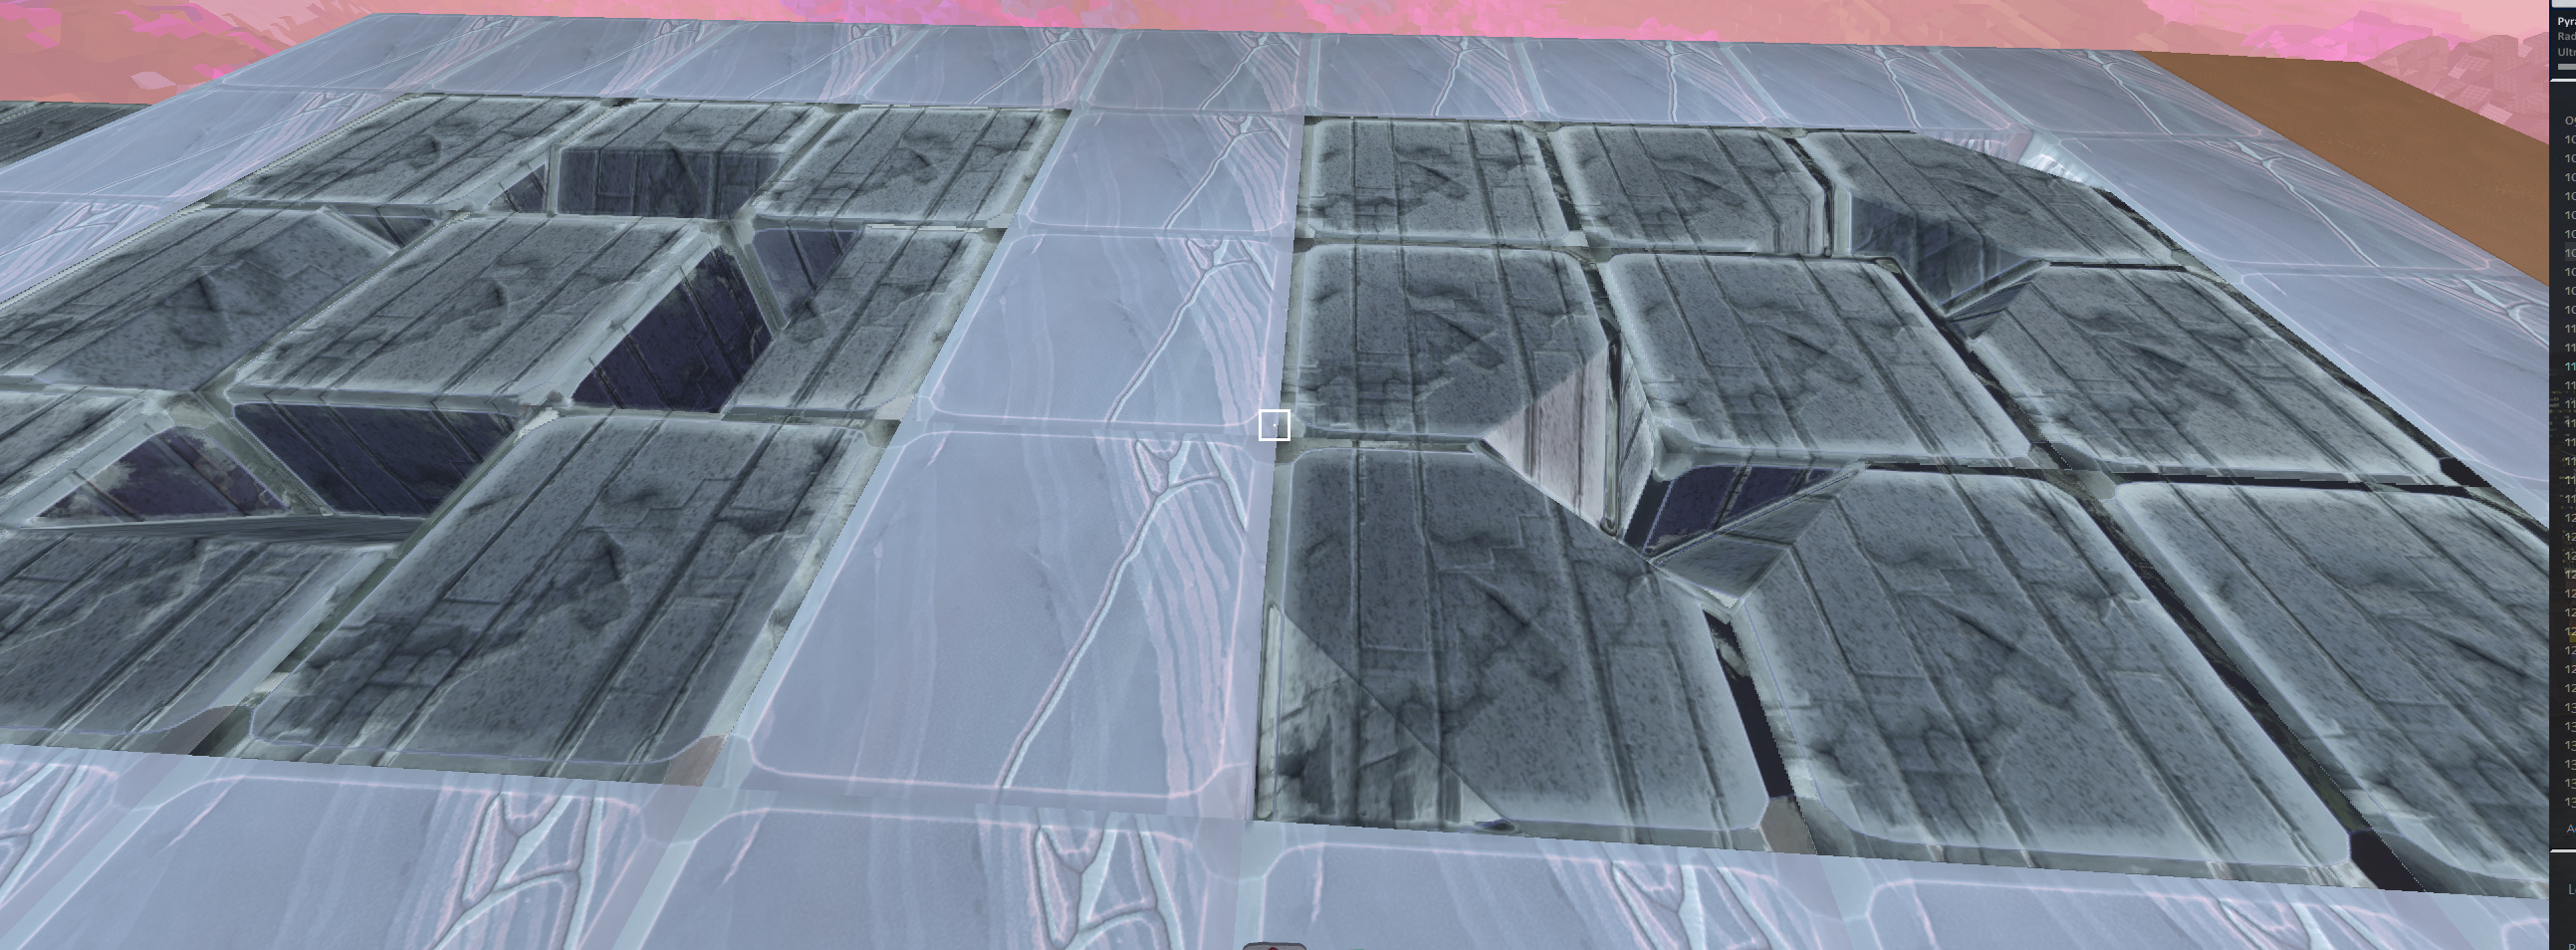
if you’re looking at the block from the side. This means to have the floor underlit you need to chisel each gleam-adjacent block on top. Though this doesn’t mess with a character walking on it, it just doesn’t look very good on a large flat floor. Like this:
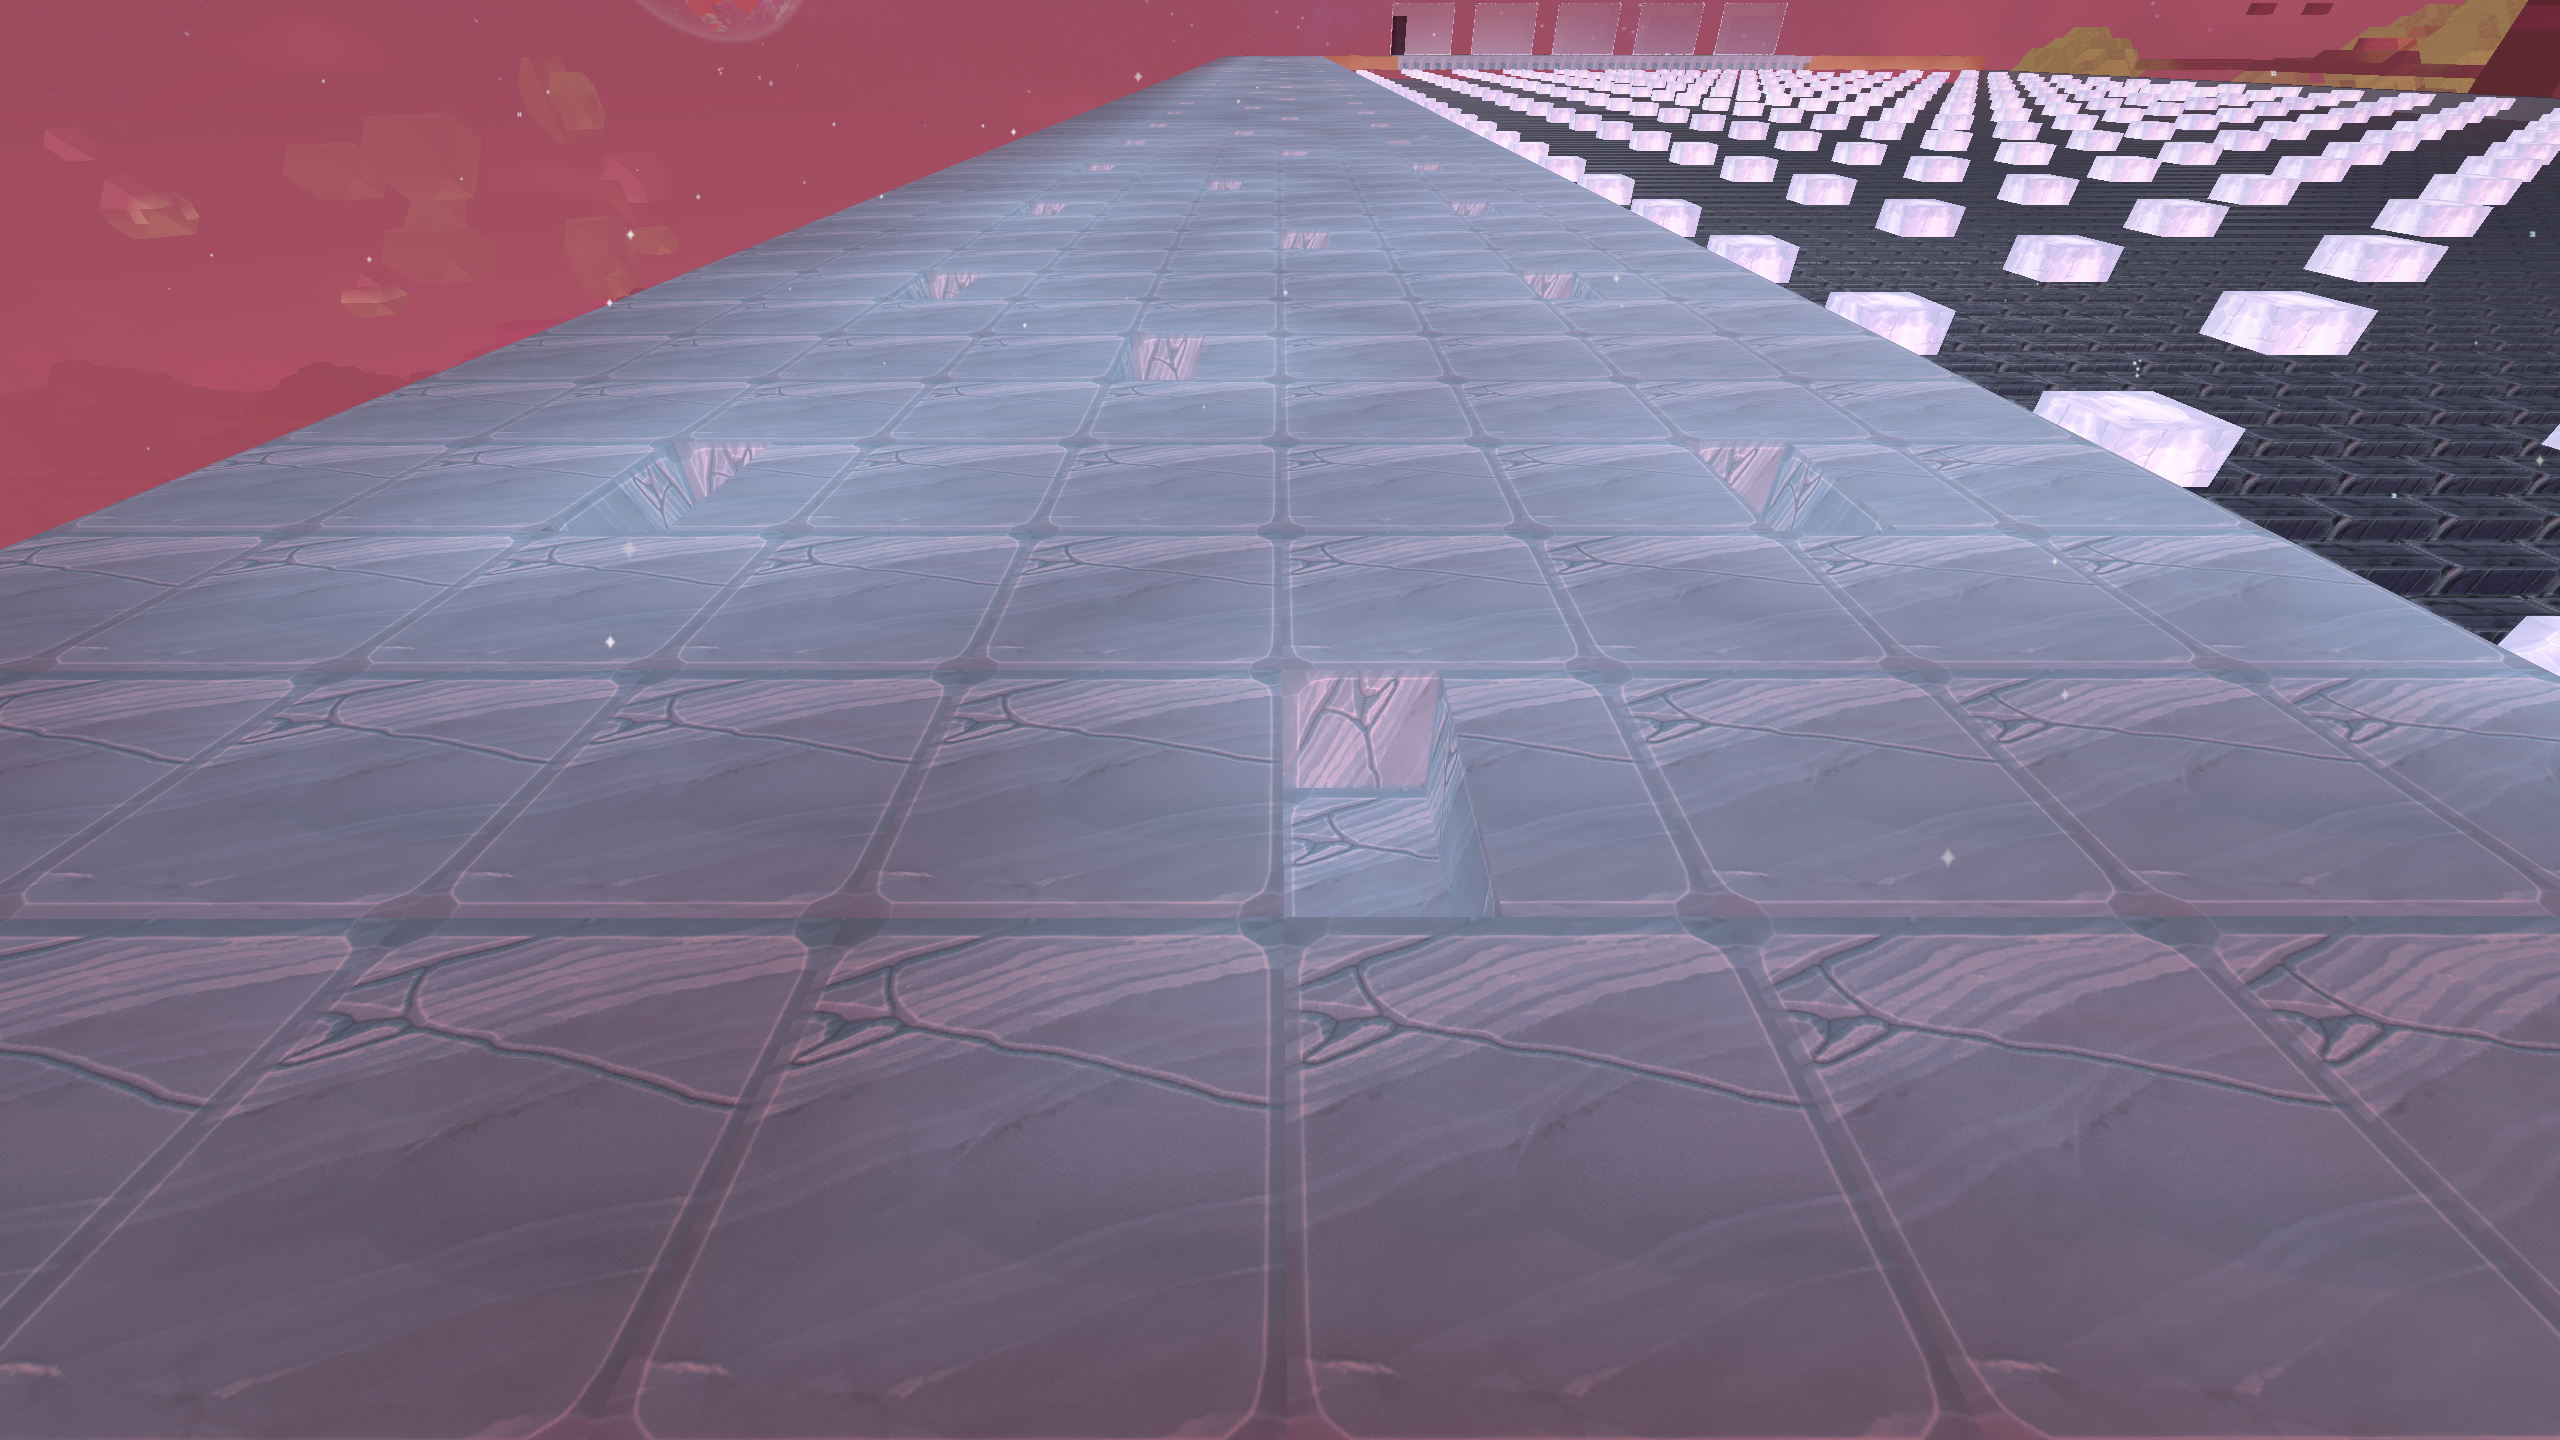
Even with each gleam-adjacent block (at 4x3 block spacing) chiselled, and then some blocks in rows between each gleam block chiselled again to let more light through, you get unsatisfactory spread. I could add even more gleam blocks again and chisel even more but at that point the floor is going to look a mess.
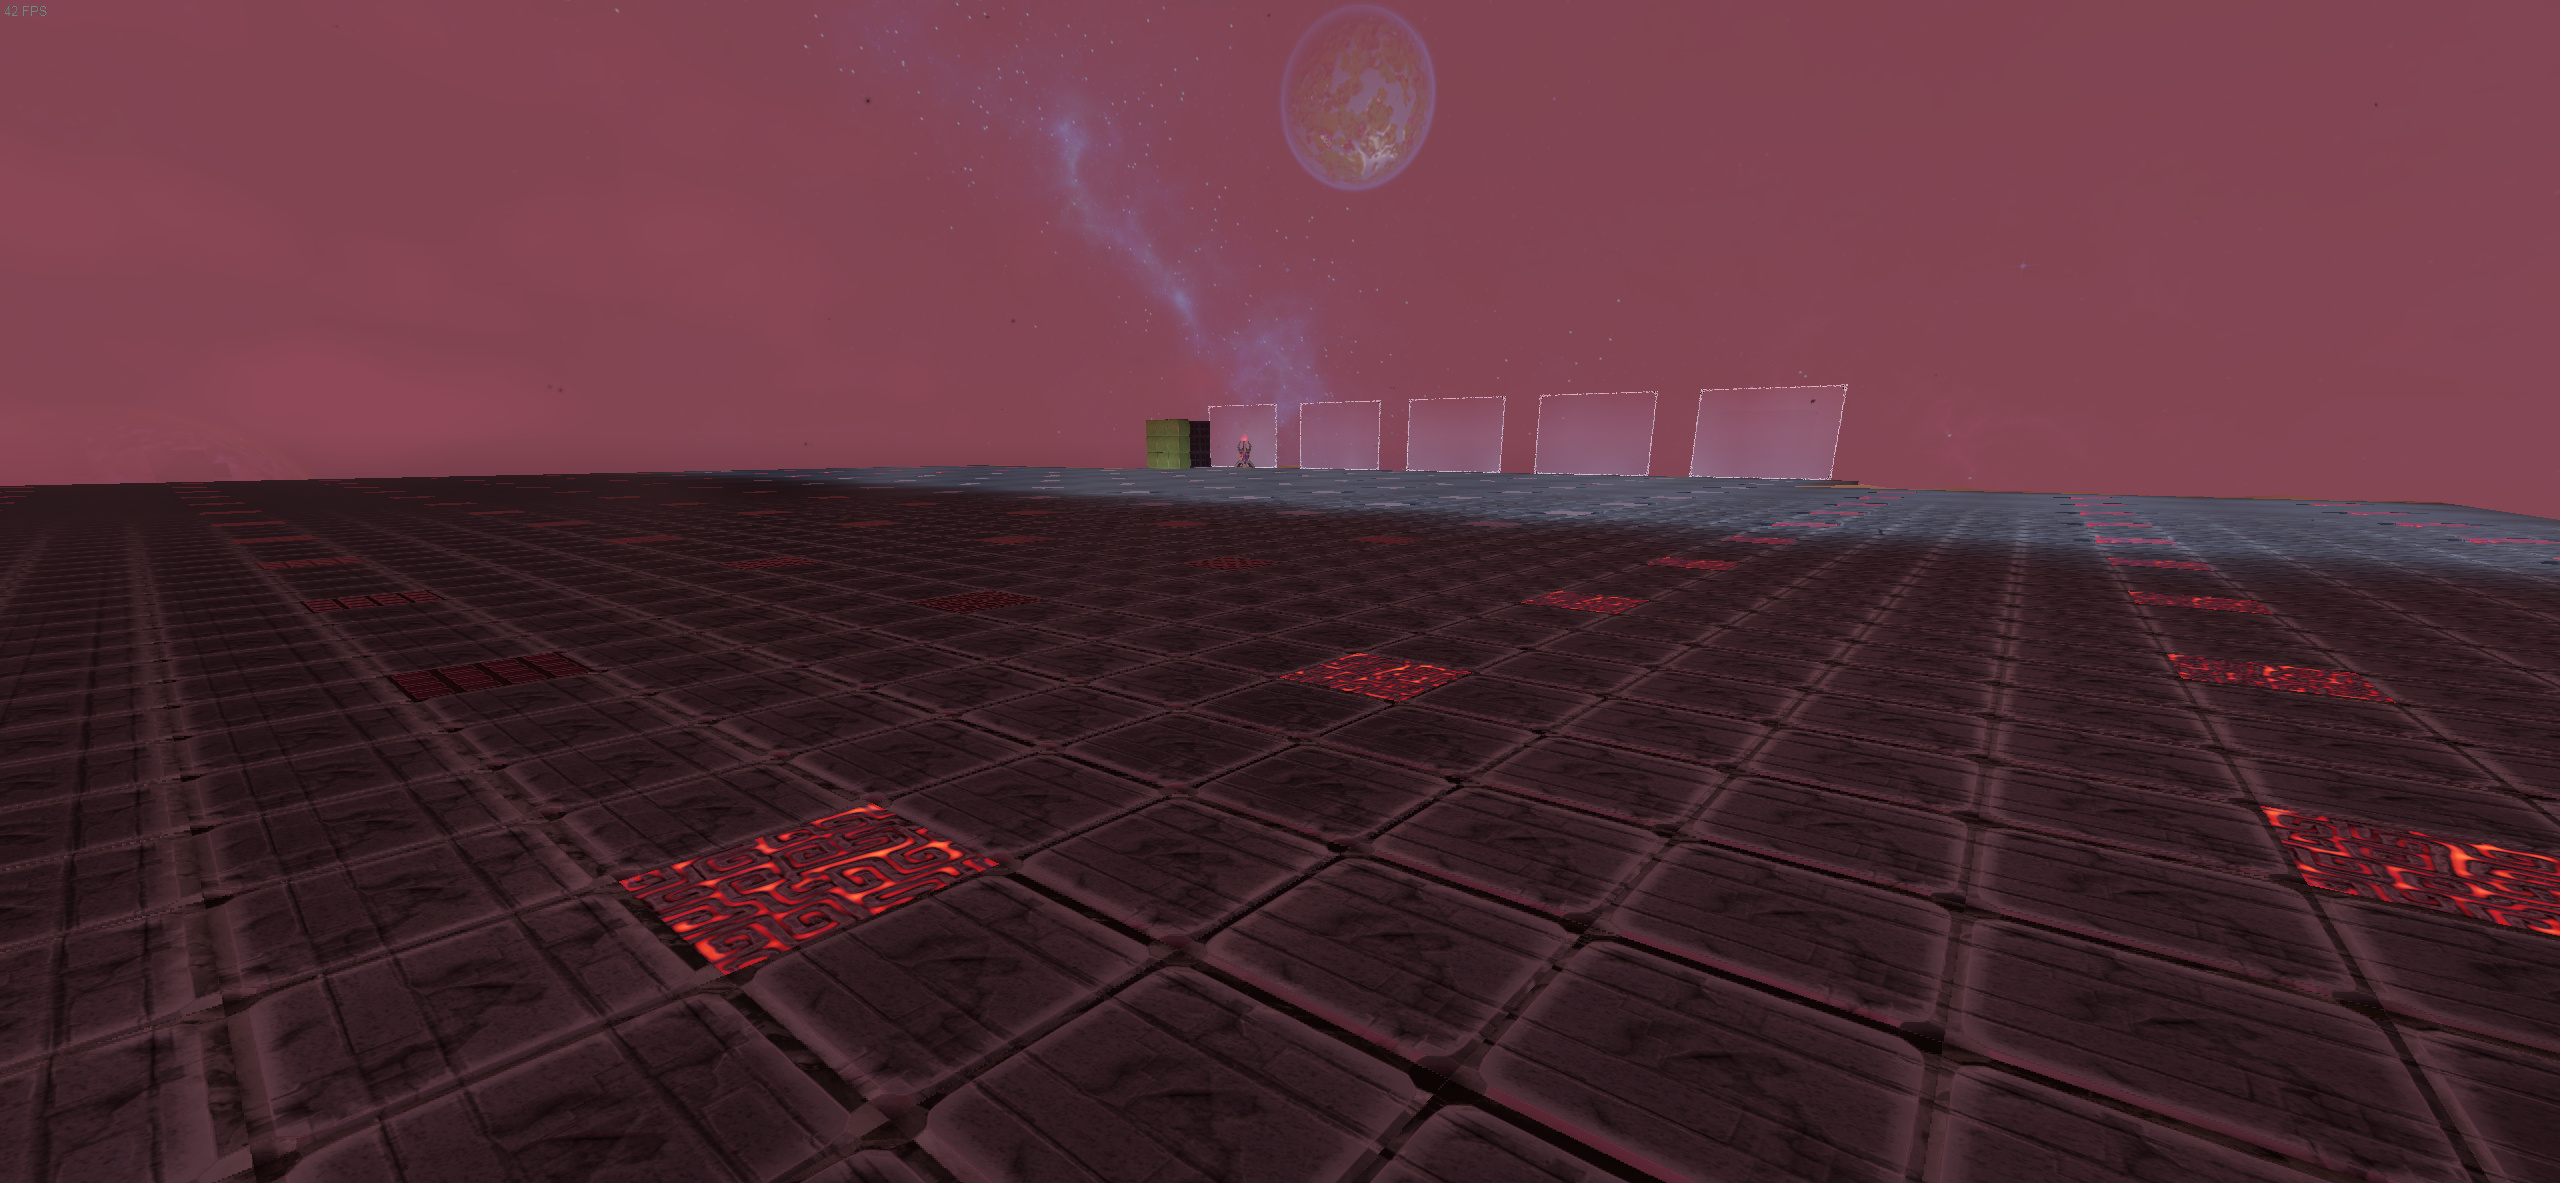
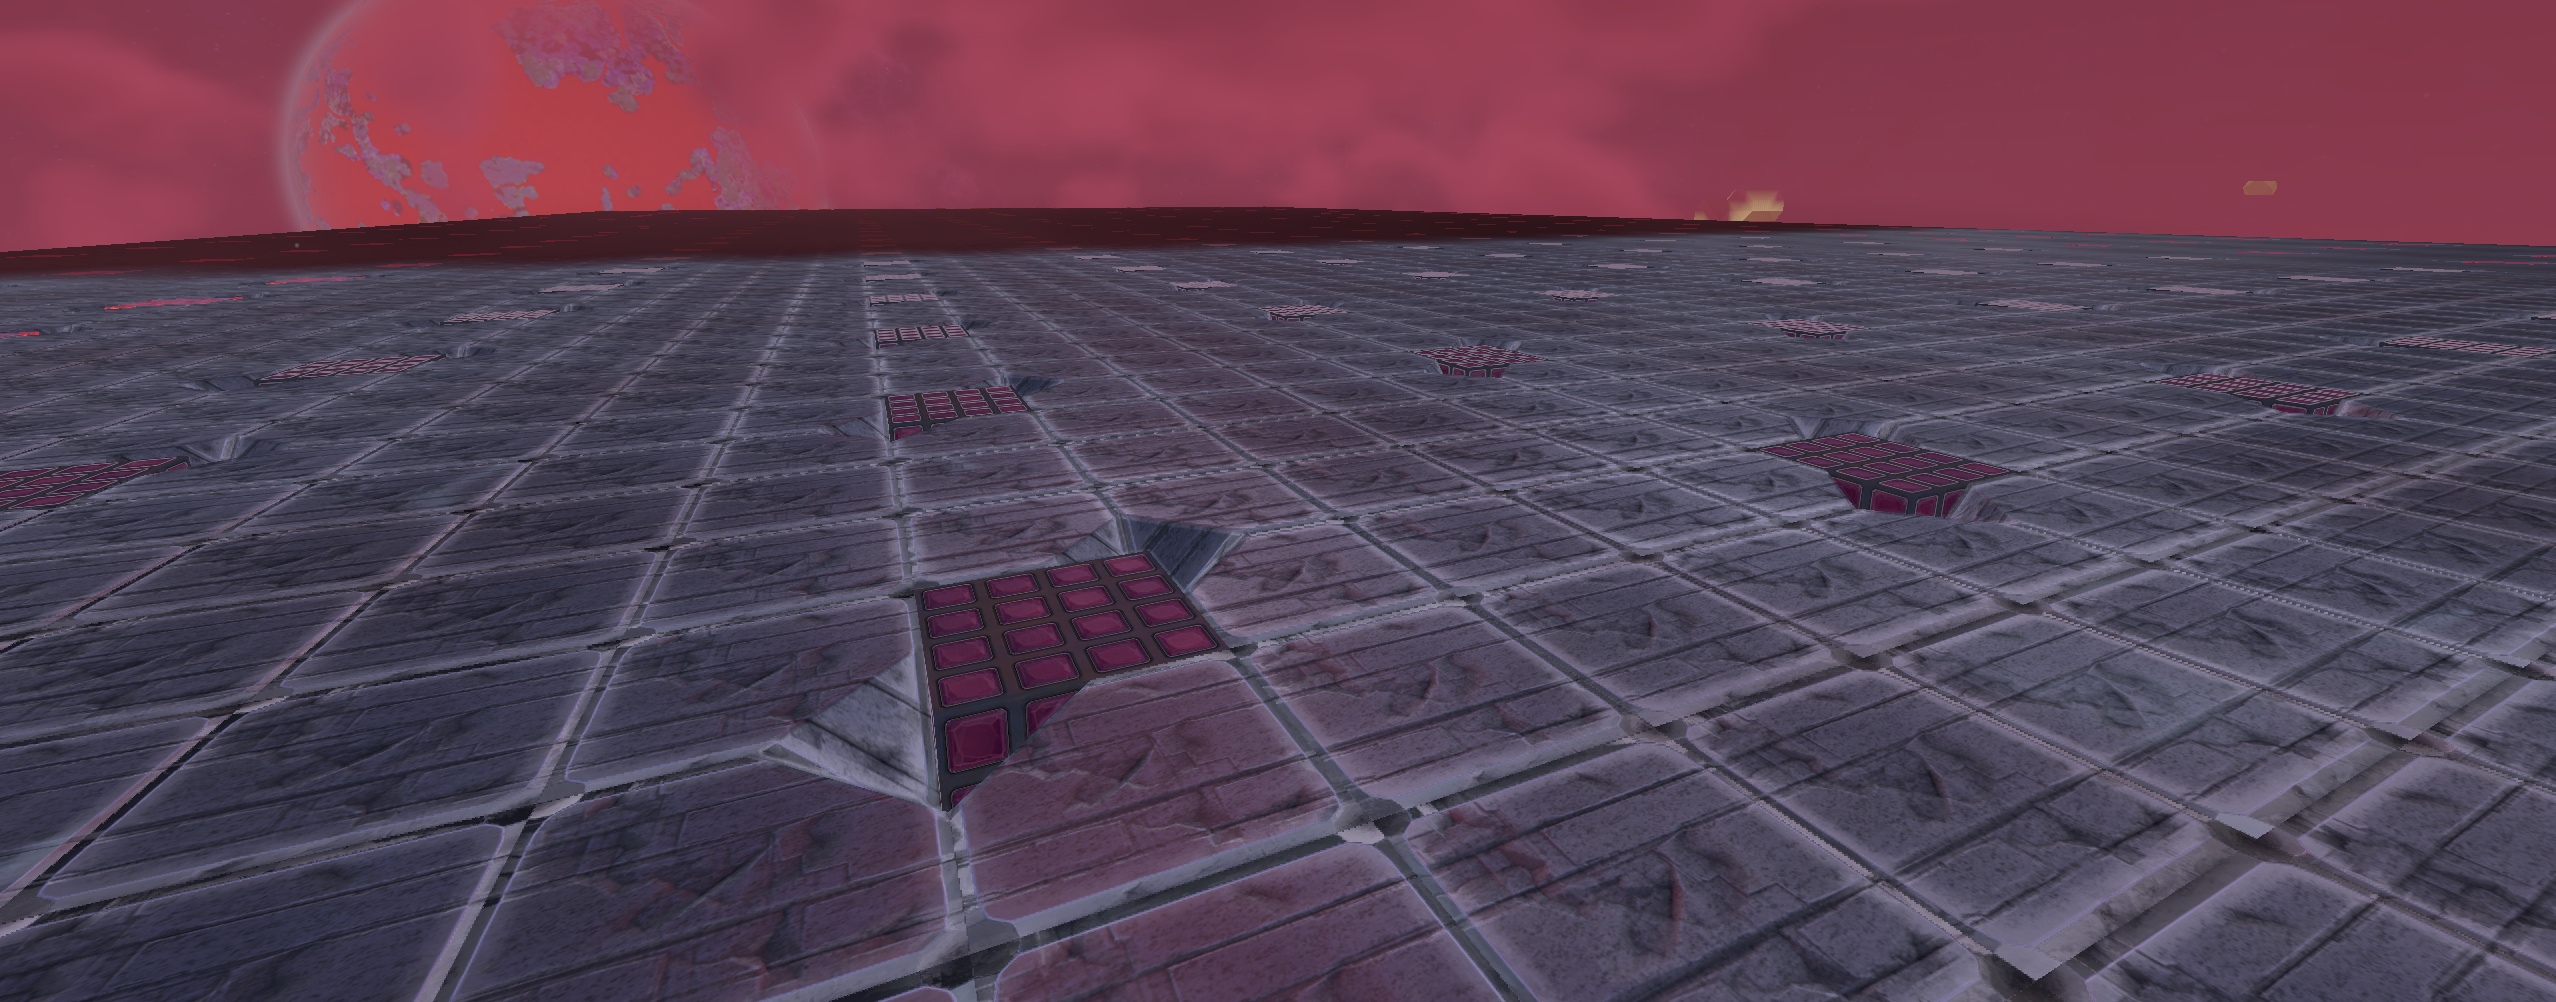
I’m not sure how well you can see it but once you get about 30 blocks away from your position, a clear zig-zag of darker, less well-lit spots shows snaking between the intermediate light-holes I made. It doesn’t look good.
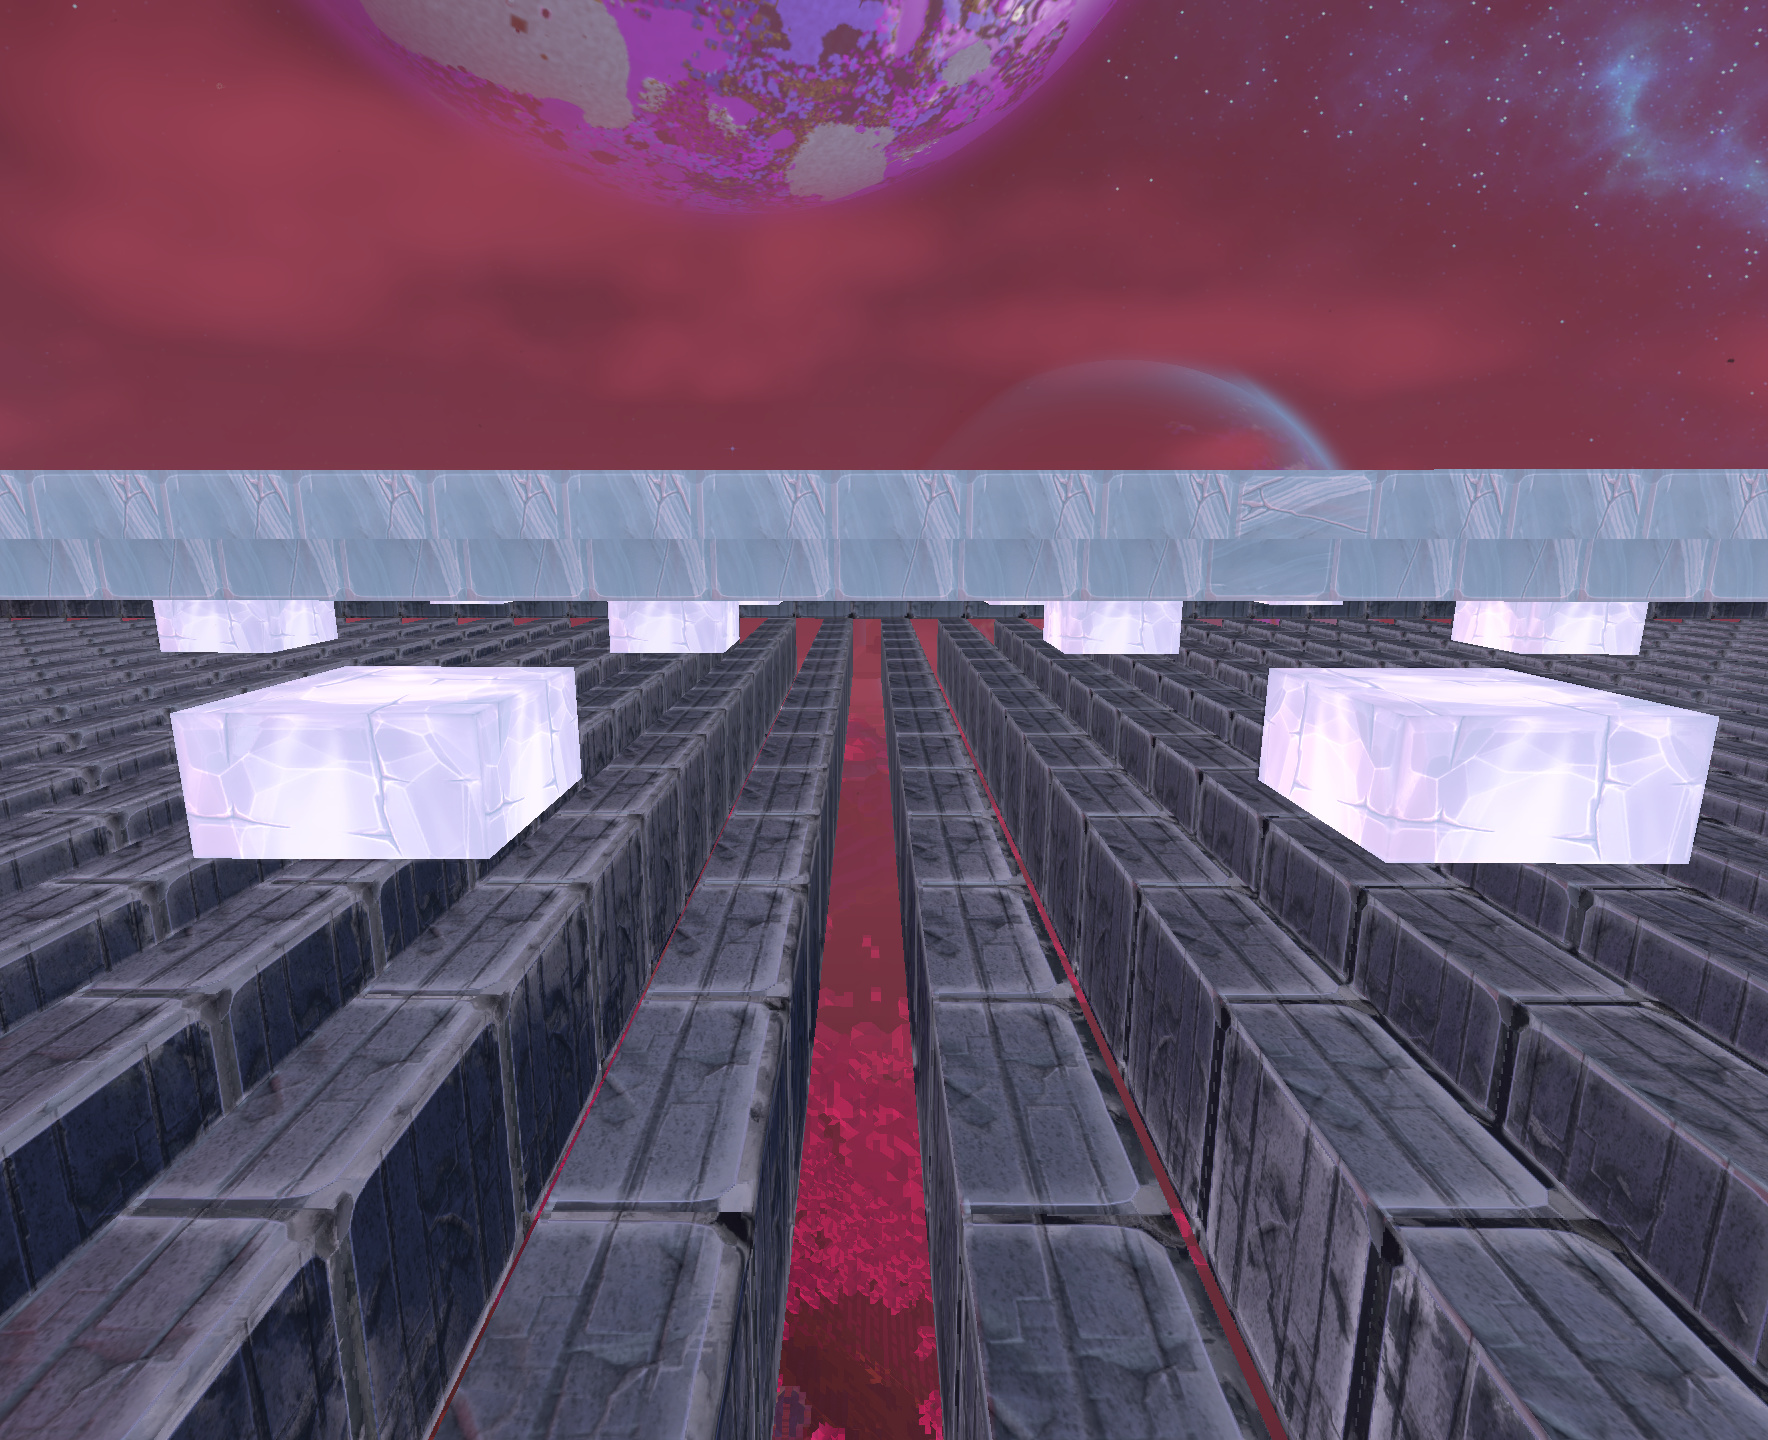
I’m going to tear this floor up (sob all those poor, dead chisels!) and do something different. The lighting and underfloor weren’t a waste because I wanted to try something different with the external below view anyway.
Anyway so it’s possible but I think not worth the sacrifice to passively light a floor. You have to compromise on top-block aesthetics and the lighting is patchy unless you throw much more gleam at the problem than you’d need with active lighting.
Some other shots of how I set it up below. If anyone has worked out an alternate method with better light bleedthrough I’m interested to see it.
It’s a great tip. I want to put together a list of advanced building techniques, because I’m sure a lot of people would benefit from it.
If you chisel a rough looking block, not only will it go flat and sharp, but it will also remove the bleed effect. I use it a lot with sand to make flat rugs with no bleed, like here;
@schasm, using a precise bevel chisel on the edge of a gleam adjacent block (upper half slab) gives a good trade off between lighting a small area and minimising the horrible half-stair dips you had to leave in those refined sedi’s…
Also, am i the only one that finds it immensely unsatisfying when corruption doesn’t bleed into adjacent blocks? It should creepy creeper all over my storage blocks and machined iron burglar bars!
Thank you! I’m thinking about reworking it with a pattern so the chisel work is more obscured - it looks particularly bad on a monotonous floor I think.
If you use that chisel on top, do you need to do the underside too or does the bevel allow light through with just the top chiselled?
I have used it in my amphitheater and on the BRGR’s floor - you chisel the block directly above the gleam into a top-half slab. Any adjacent blocks can then have any bevel or square chisel done to them (affecting the top half of said adjacent block) and the gleam light will render through.
I think it might only work on the 4 cardinal blocks, but if you do 3 bevel edges on the blocks say to the North, East and North-East then you get a bit extra light from the diagonal (northeast) chisel.
Yes that can work! Played around with a few patterns. I like the one on the right though I’d lose the outer chiselled bits, they don’t help and it’s too much light showing on the adjacent lighter-coloured blocks.
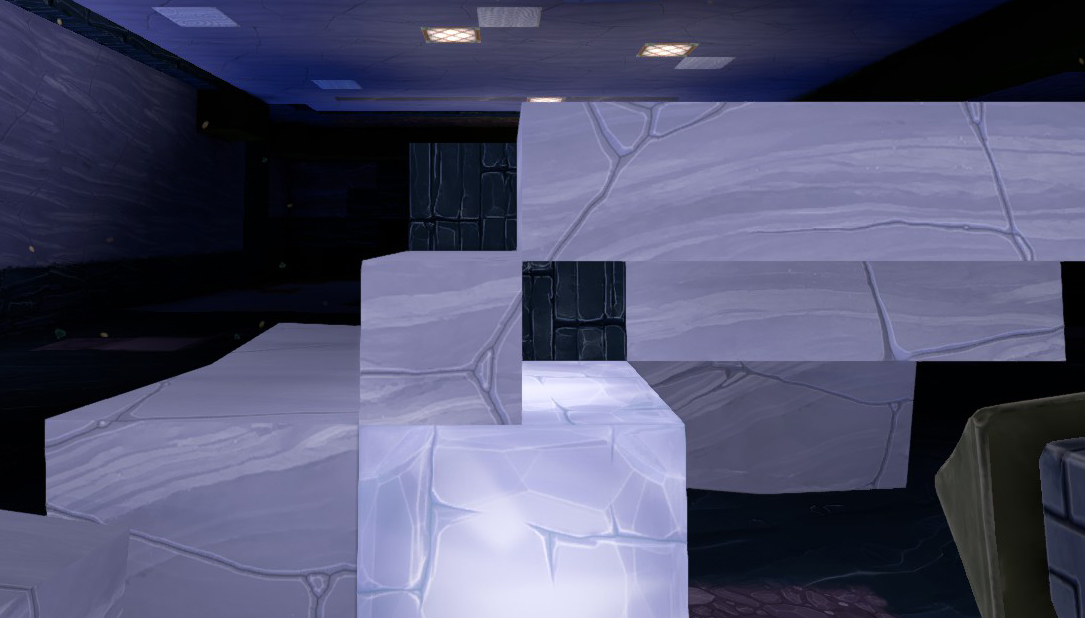
The top part is white glacier, with white gleam. it glows really nicely.
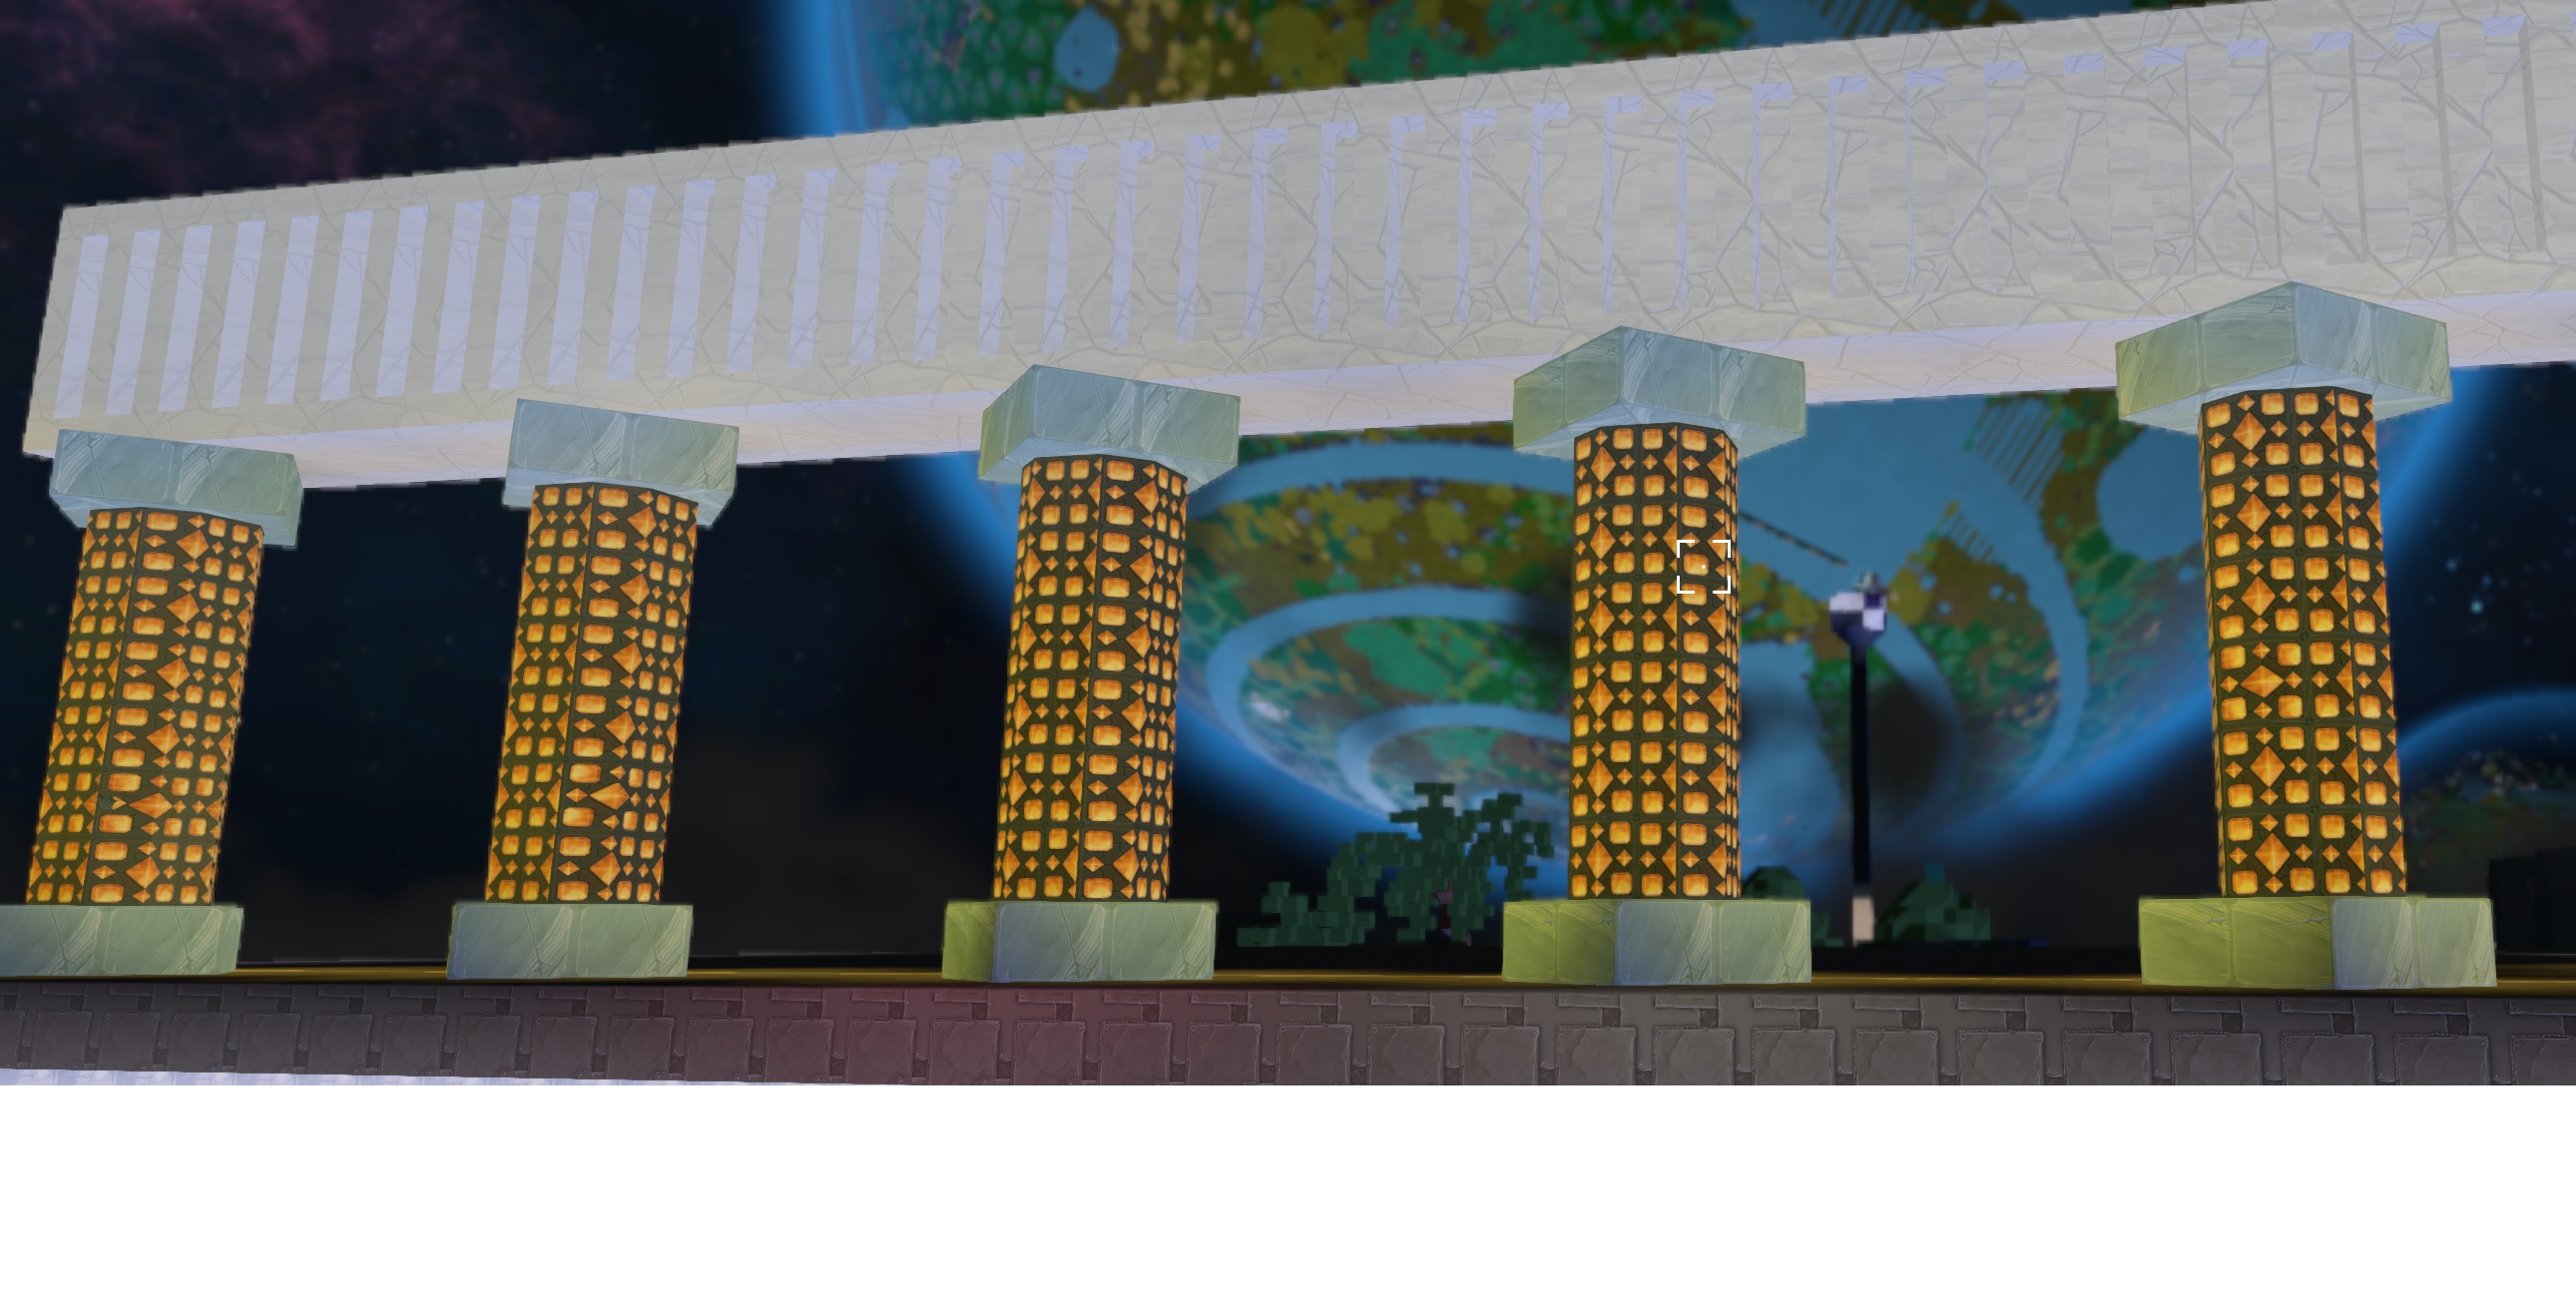
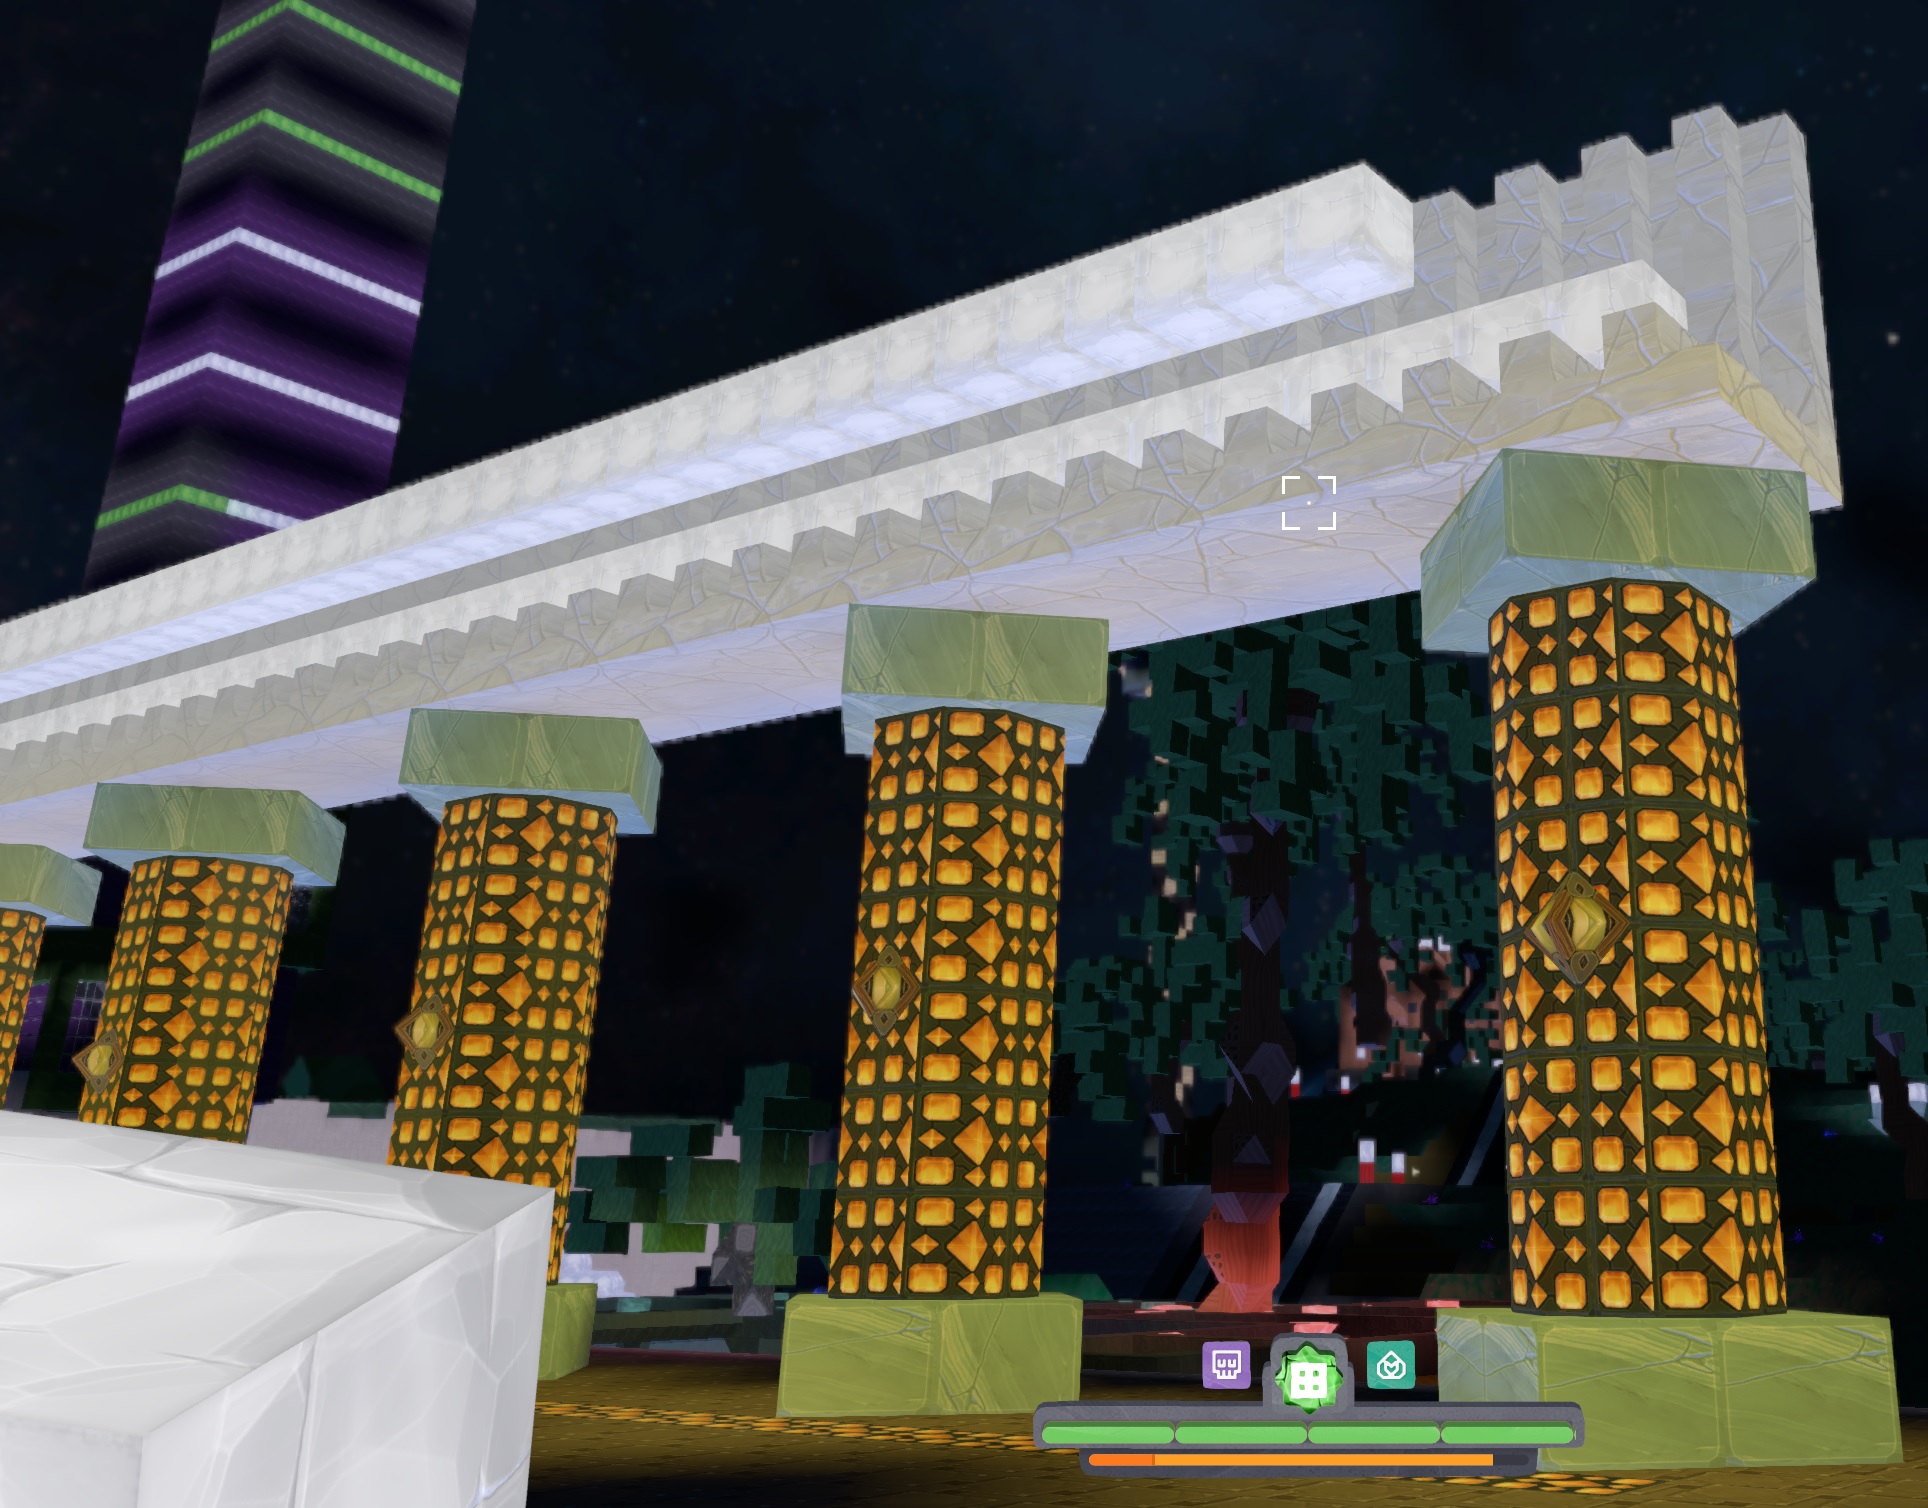
With the Topaz, just make sure you use the right color light! The Light Tan lanterns are hidden behind the columns, and the light reaches all the way in front.
A white or Cool blue gleam turns that shiny yellow into a dull washed out mess, use the same color as what you are trying to light! =D
Wow those look nice! Good tip, thanks. I am looking for other ways to incorporate non-gleam/indirect light into the new mega-workshop so I am paying more attention to others’ tricks.