Note that this post should be used in conjunction with this guide to get players of even the most rudimentary technological and mathemetical skill level started using the world builder program.
I wanted to throw this together as a visual post instead of as a video as I believe text and still images will be a better medium to talk about this info in depth versus video. Before kicking things off I’d like to reference this post that started me on this idea. I don’t mean to belittle any of the work done on the post or the efforts of anyone involved with it. I merely hope to expand upon what they started using the newer world builder tool so others can be more comfortable with noise as a concept in practical application.
I also want to post a disclaimer that I will eventually try to post about all of the individual noise types (2D, 3D, and their cell counterparts) and the functions that combine them. However I am by no means an expert so I will merely be trying things out and using images to help me and others who don’t necessarily have extensive computer science/mathematics backgrounds.
Please feel free to correct me on any information I get wrong and I will correct it ASAP. Please also note that due to the sheer amount of information this post will eventually contain that it will be updated over time.
2D noise nodes
Constant
You can think of Constant 2D noise like a flat plane. When used with a heightmap it will draw a flat plane across the world with higher values creating higher altitude planes and lower values creating lower planes.
When using the blue button visualization tool on the constant noise node you’ll see a single color. In heightmap terms, colder = lower and hotter = higher. Example below:

Here is an example of constant noise used with the heightmap, strata, and substrate nodes:
Heightmap constant noise node value lower than sea-level:
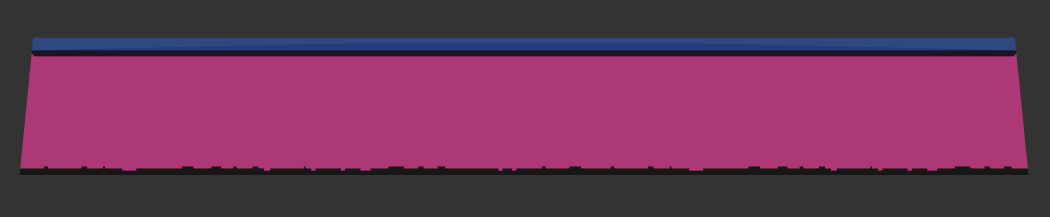
The blue on top here is the water which defaults in when your biome is lower than the defined sea-level. The black layer below the water is the constant noise set at the substrate and heightmap level. The heightmap is a plane and there are no other blocks other than the black sand defined in the substrate node I made for this example. The pink layer below that is the constant noise set at the strata layer. The black layer at the very bottom is mantle and I don’t believe there’s a way to change the minor gradient (or block height variations around y=1 - y=5 or w/e it is) that occurs there (please correct me if I’m wrong).
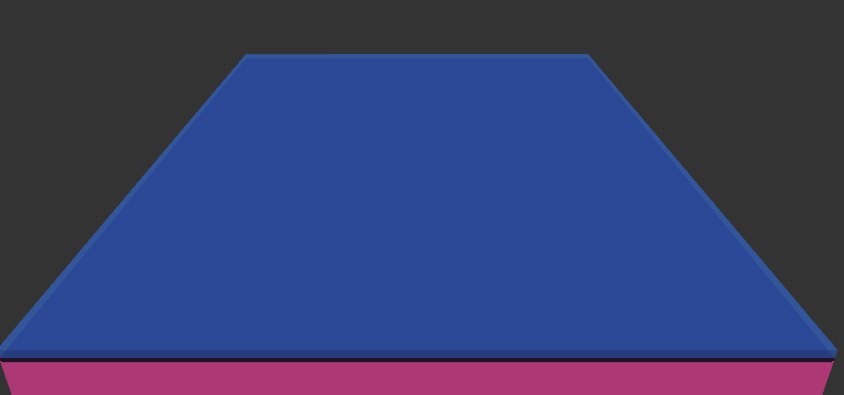
Value higher than sea-level:


Perlin
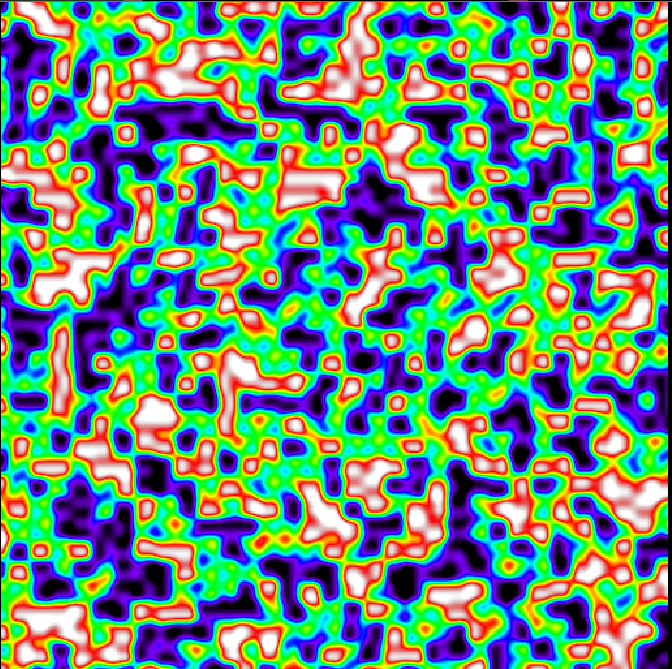
Perlin noise is one of your basic noises in World Builder. As a default node you’ll see something like this:
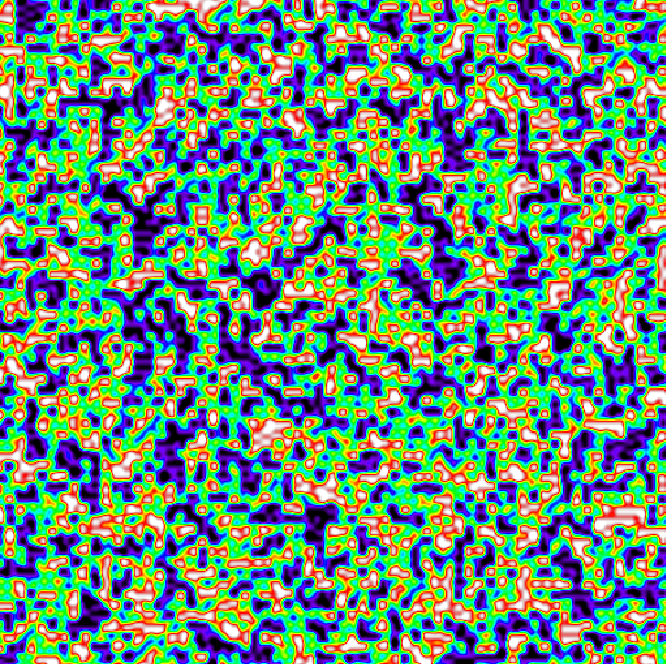
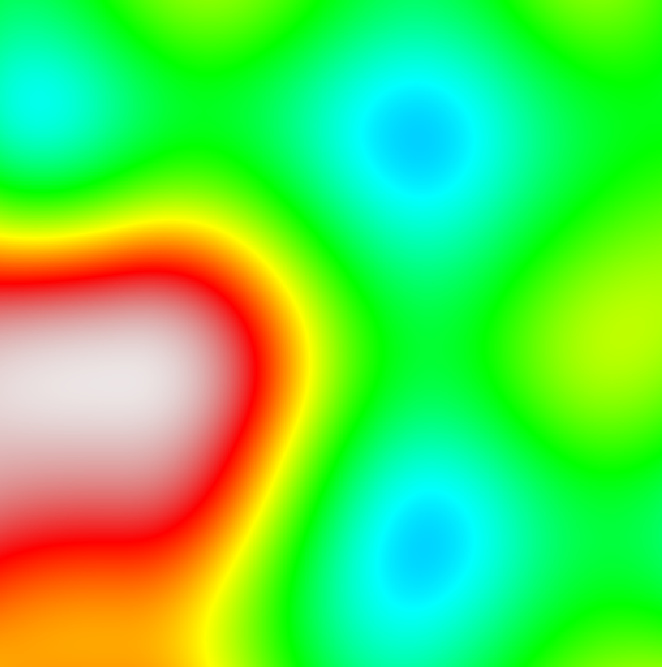
Perlin noise only contains 2 real variables. The first is the frequency. A higher frequency causes more variation in the noise as seen here with a frequency of 1.95:
A lower frequency reduces variation and makes things more spread out as can be seen here with a frequency of 0.05:
The second variable is the seed and we’ll see it come up quite a bit with future noises and functions. The seed is a way of adding secondary variation. For example, I used the same frequency as the image above but used the name of my girlfriend as the seed for this image:
More about parent and children seeds will be discussed once we get into noise functions.
Simplex
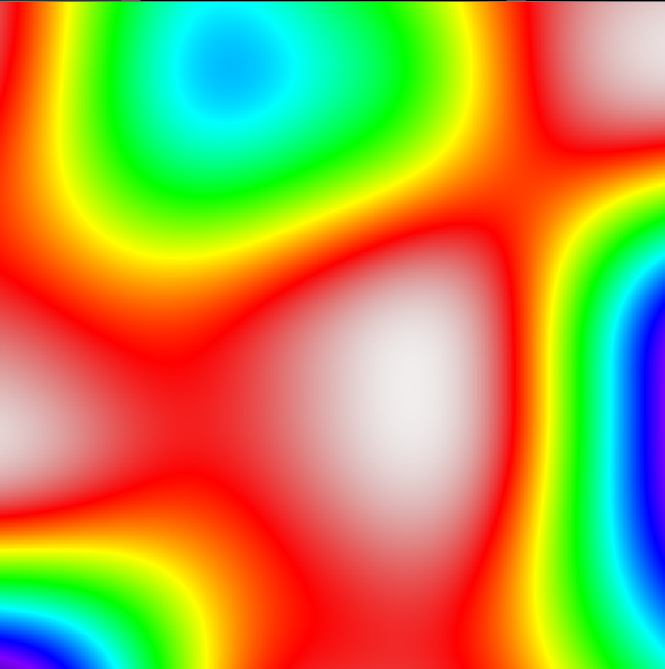
Simplex noise is somewhere similar to Perlin but with smaller details but a somewhat clearer pattern. Your default simplex noise will look something like this:
Simplex noise also contains only frequency and seed variables. Higher frequency simplex noise looks something like this (1.95):
While lower frequency looks like this (0.05):
Wave
Wave noise has several new parameters. You can now choose the direction of the noise and the type of noise. Types have been broken out below.
Sine
Your default Sine noise will look like this:
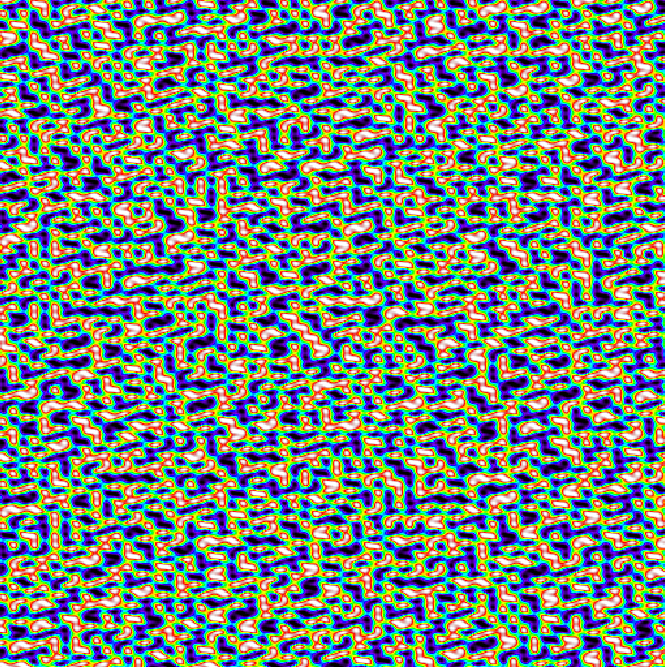
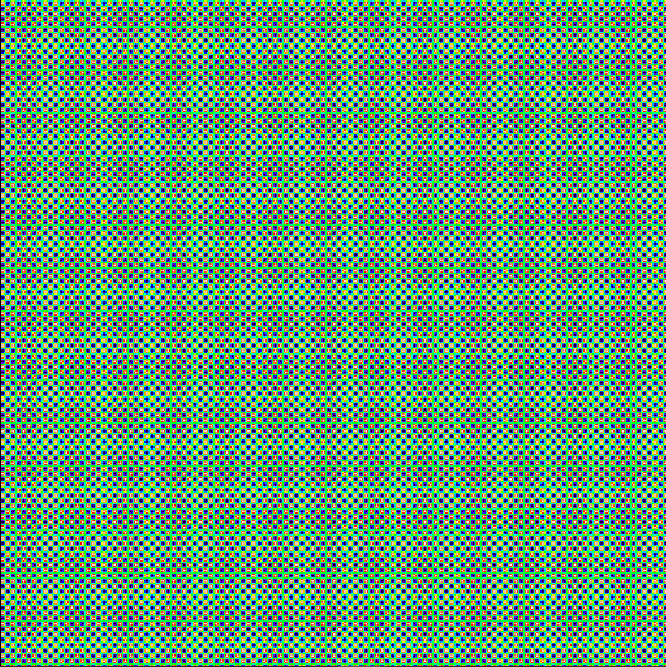
Similar to previous noises the higher frequency (1.95 pictured) makes things get smaller and more detailed:
And lower frequency makes things get larger and less detailed (0.09):
Changing the directions from xz to x gives you vertical stripes (0.09 frequency still):
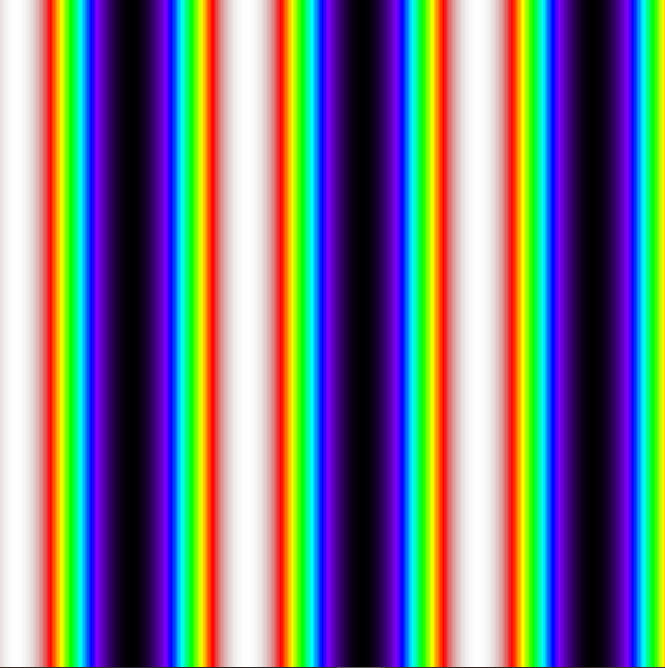
And using z gives horizontal stripes (same frequency):

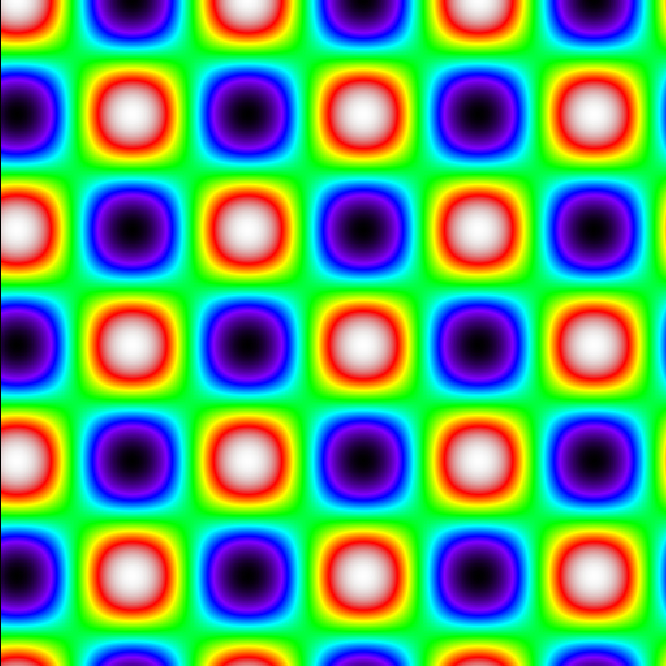
Square
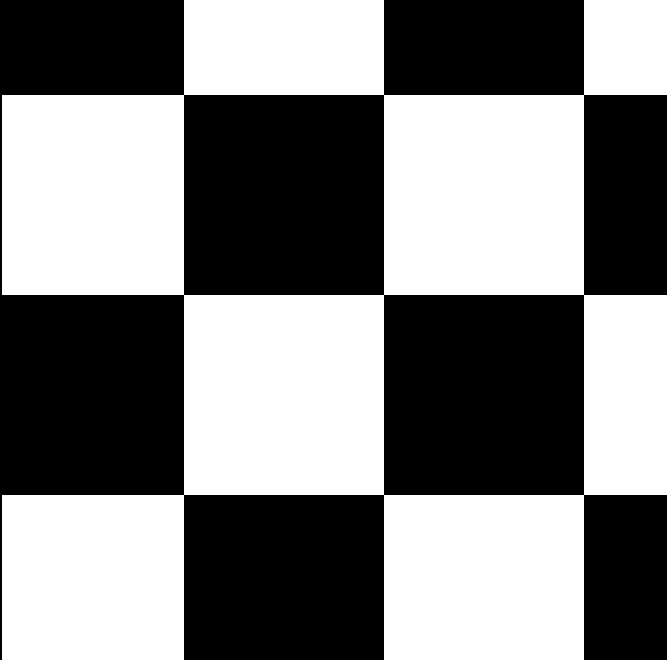
Default square noise looks like a checkerboard:
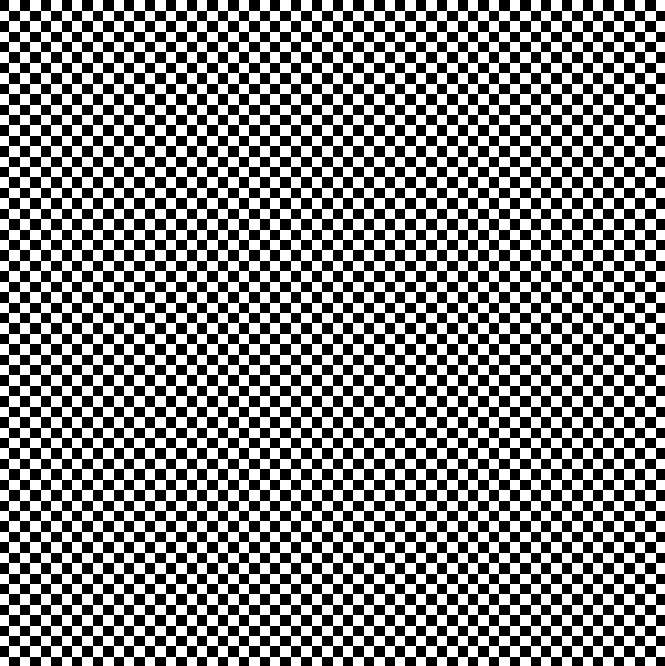
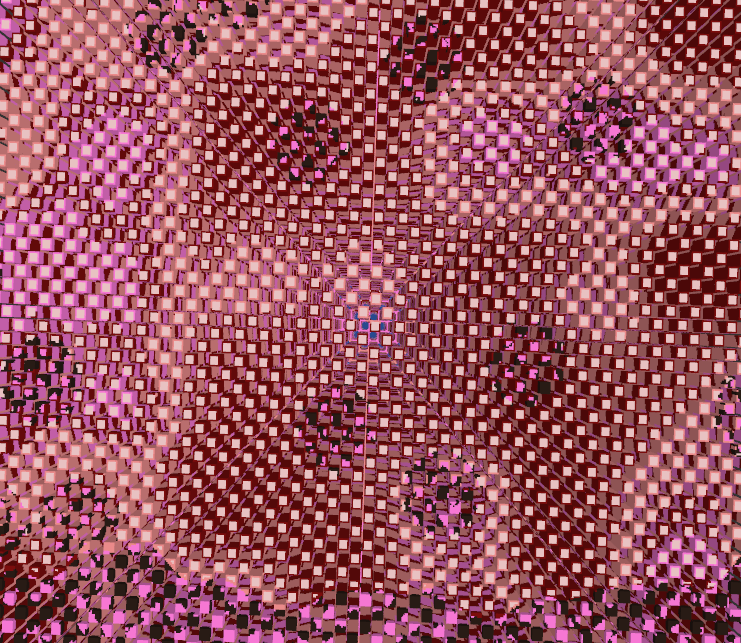
Do note however that it’s not colored, which means this is going to be a tough noise to use as a heightmap unless you want something crazy like this:
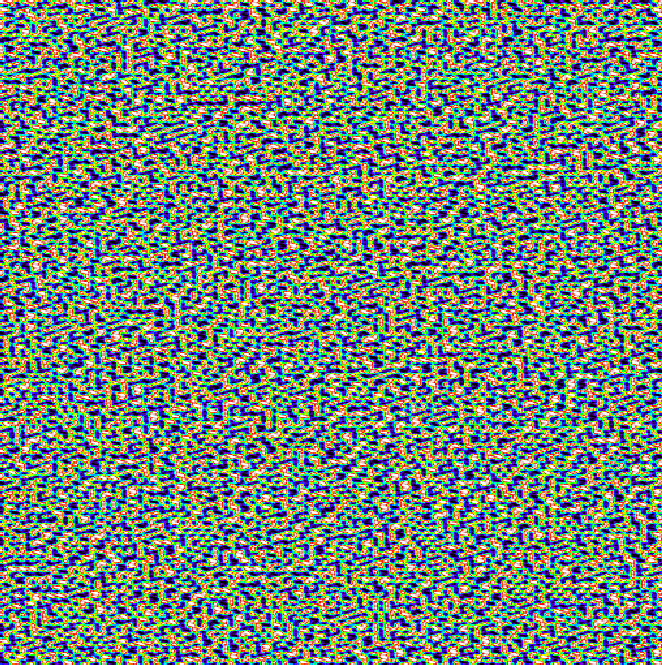
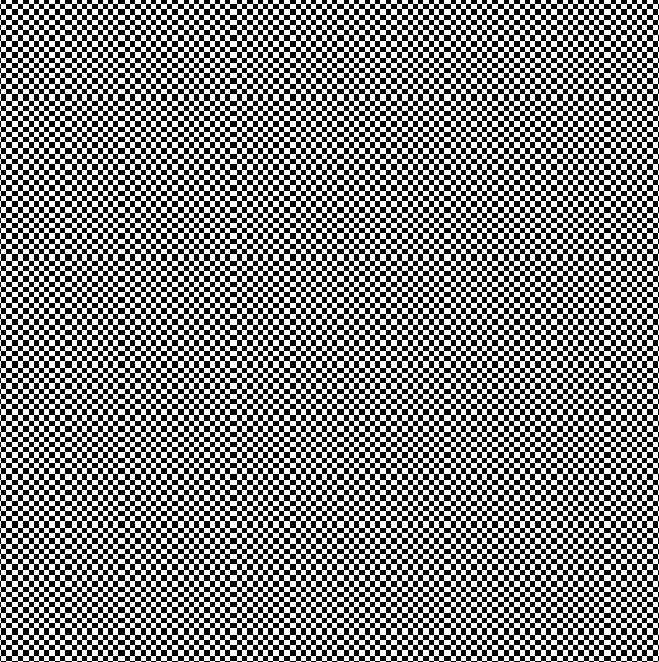
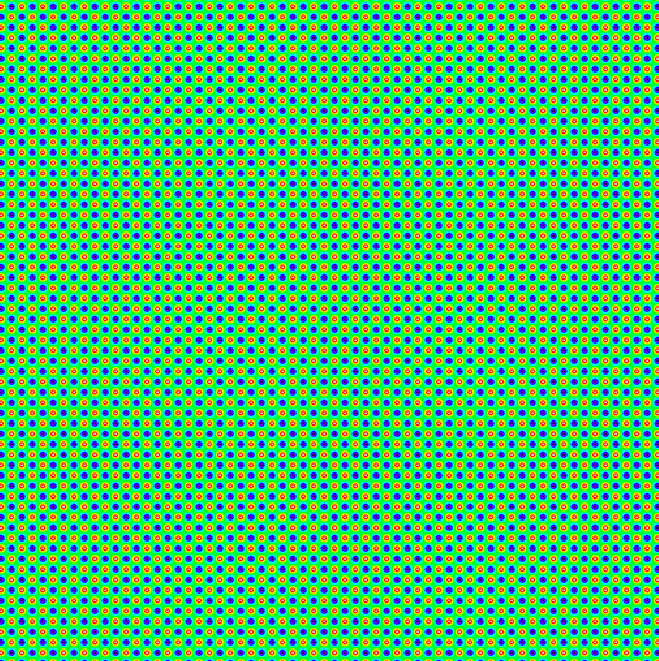
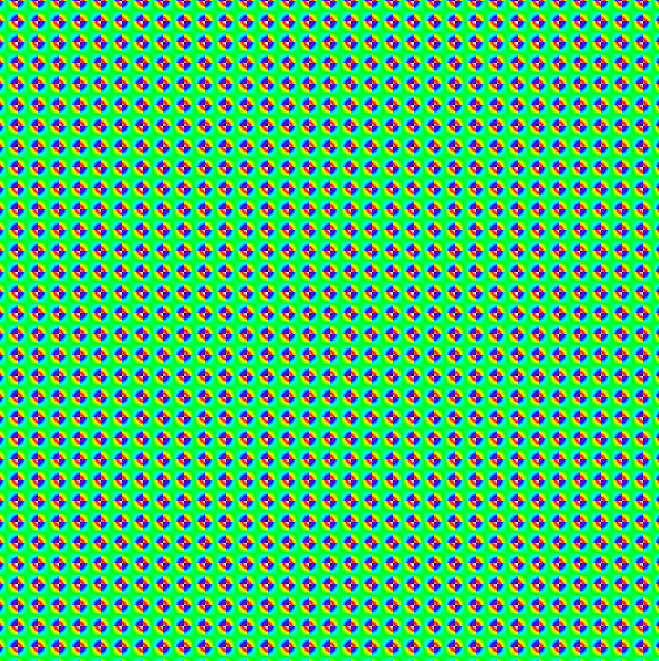
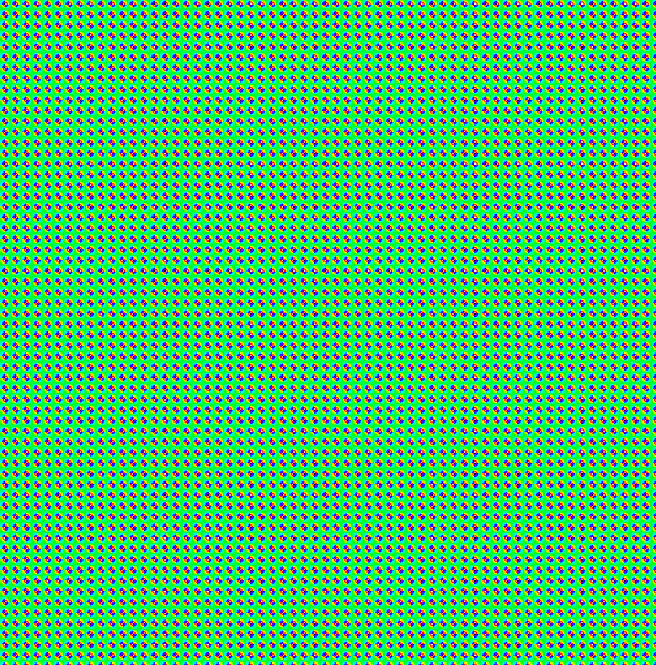
As before, a higher frequency (1.95) shows more of the pattern and a lower frequency (0.05) shows less:
Changing the direction to just x or just z gives you the same bars the sine noise does.
Triange
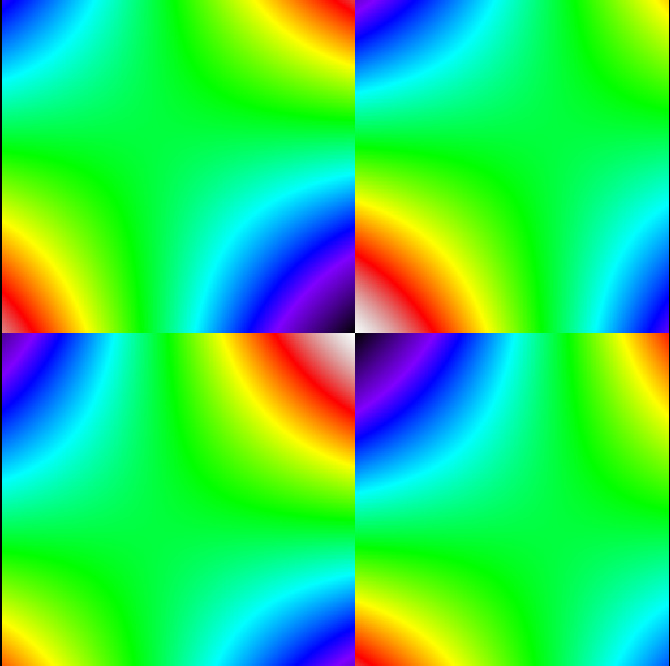
Default Triangle Wave noise looks kind of similar to Sine:
High frequency (1.95):

Low frequency (0.05):

Again, changing to just x or just z in the directions parameter causes horizontal or vertical lines.

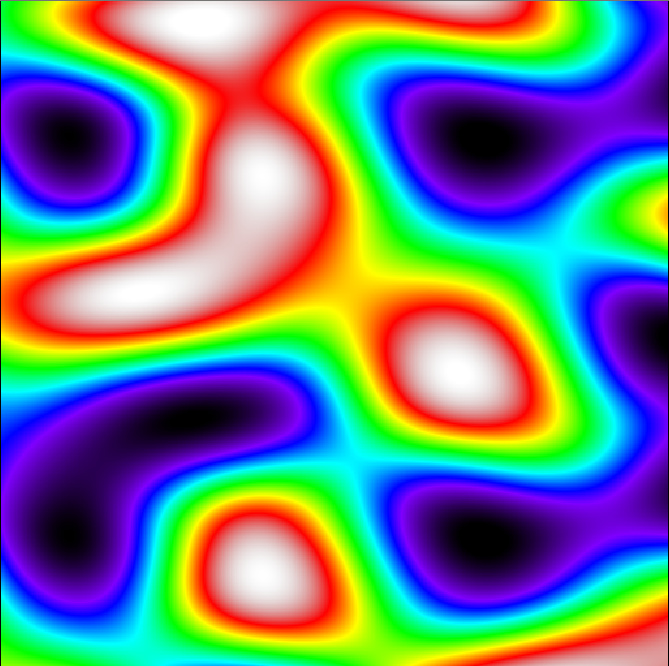
Worley
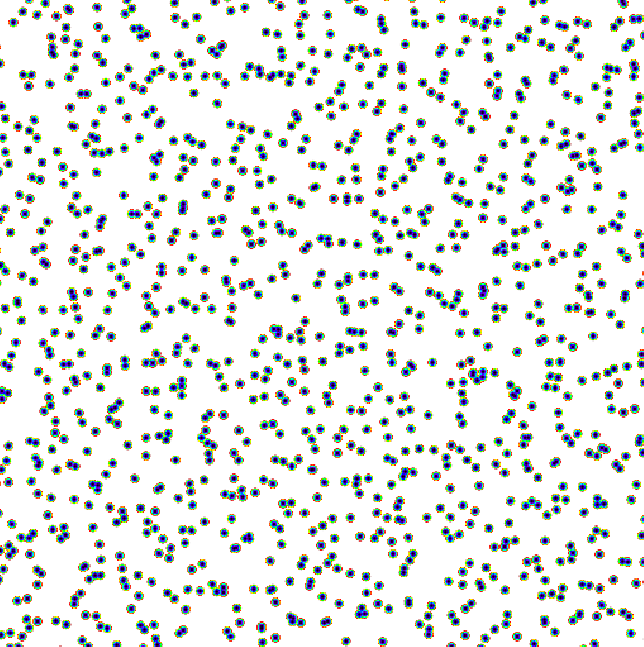
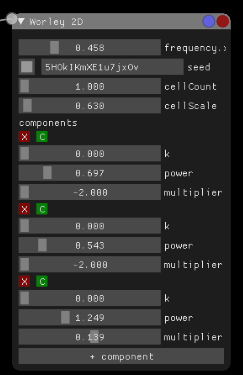
Worley noise gets a little more tricky than the previous noises. By default there will be nothing shown when you use the blue button to visualize. This is because you need to use the +component button on the bottom to add a beginning component. Worley noise has a fair number of variables so we’ll look at each of these in turn below.
By default, after adding one component and not touching any of the sliders your noise will look like this:
For the values below I took one default node, copied and pasted it 5 times. The same seed is used throughout so you have a better idea of what each variable does without having to account for extra randomization.
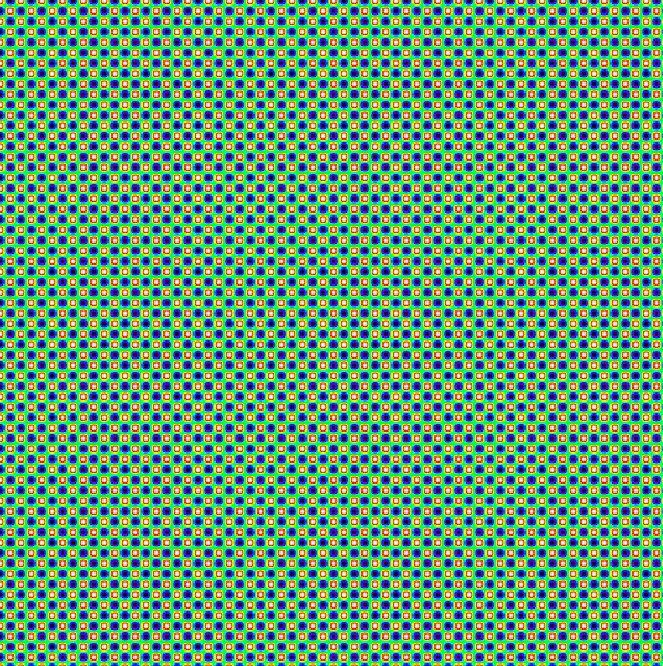
Frequency
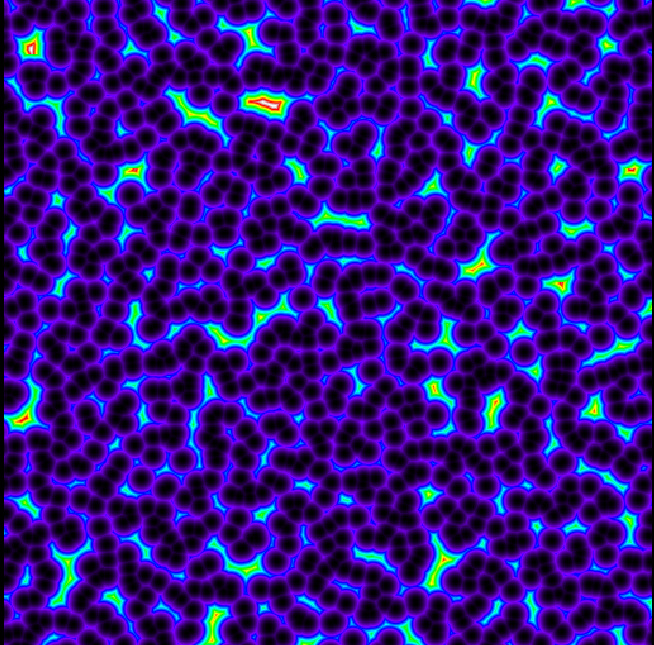
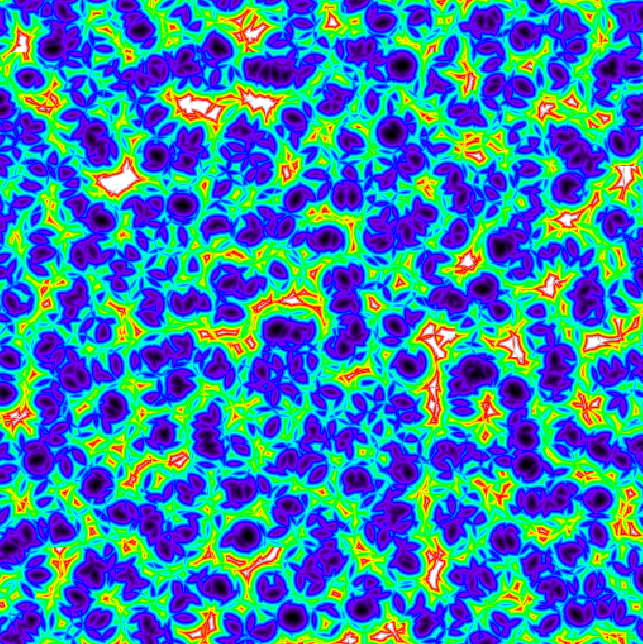
Using a higher frequency while keeping everything else constant gets you something like this, where the cells are smaller and more numerous:
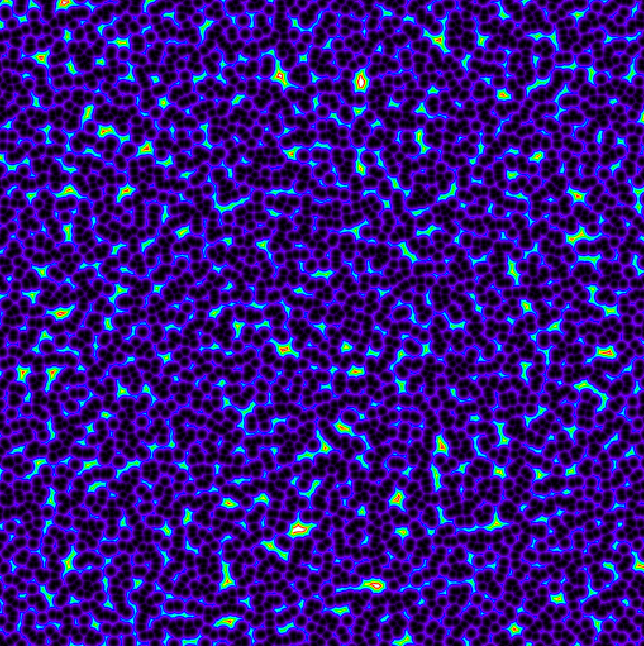
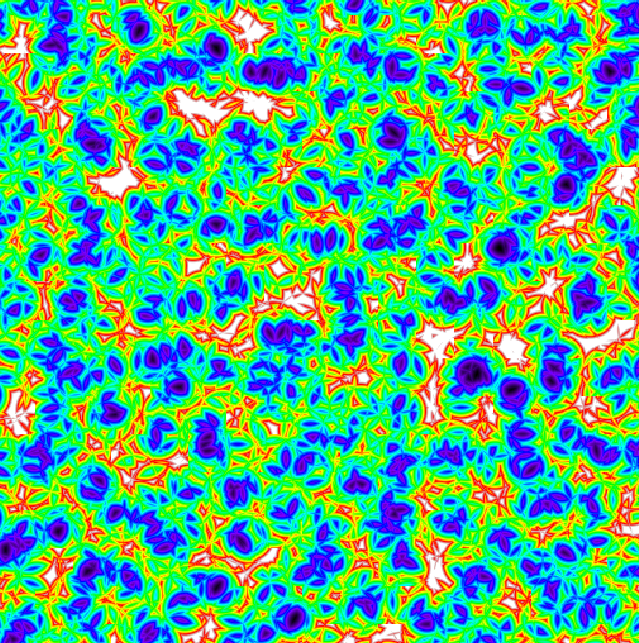
As you might imagine then, lower frequency gives you a really close look at the cells:
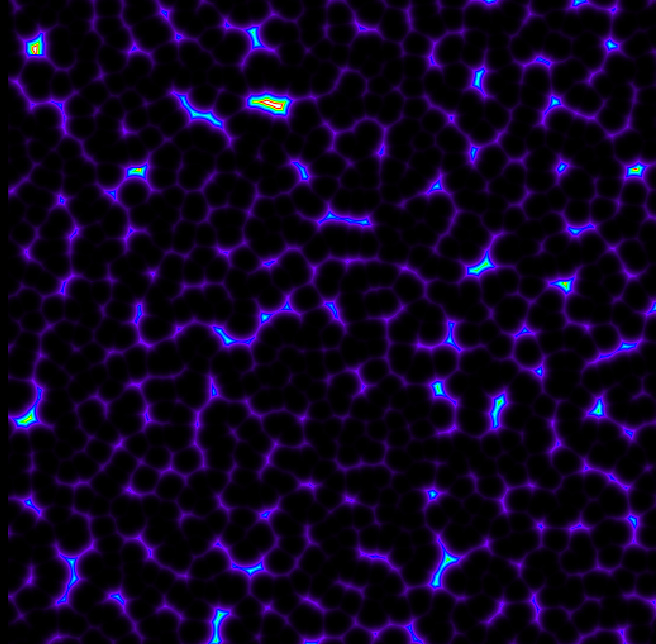
cellCount
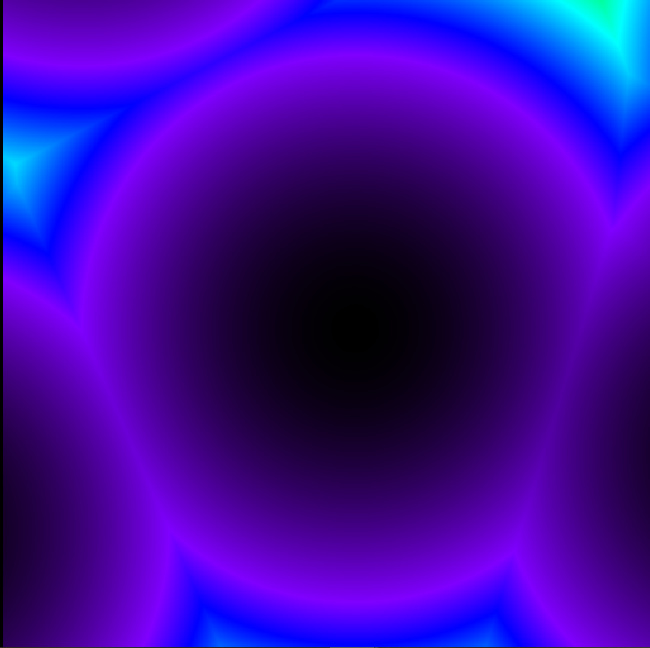
Cell count defaults to the max of 4 so the first image shows you many cells in use. This image is with all other variables held constant but with cellCount set to it’s minimum value of 1:
This kind of creates some cool yet very tall mountains with little pools of water in between when used as a heightmap:
cellScale
The default image shows cellScale at a value of 1, which is relatively low. The slider seems to go from 0.10 (which doesn’t actually generate anything) up to 30.
cellScale at 10:

cellScale at 30:
k
I honestly don’t have the full details here on what the k variable does. As far as I can tell, it seems to make the cells more jagged or distorted the higher it gets. The default value is 0.
k of 1:

k of 2:
k of 3 (max):
Power
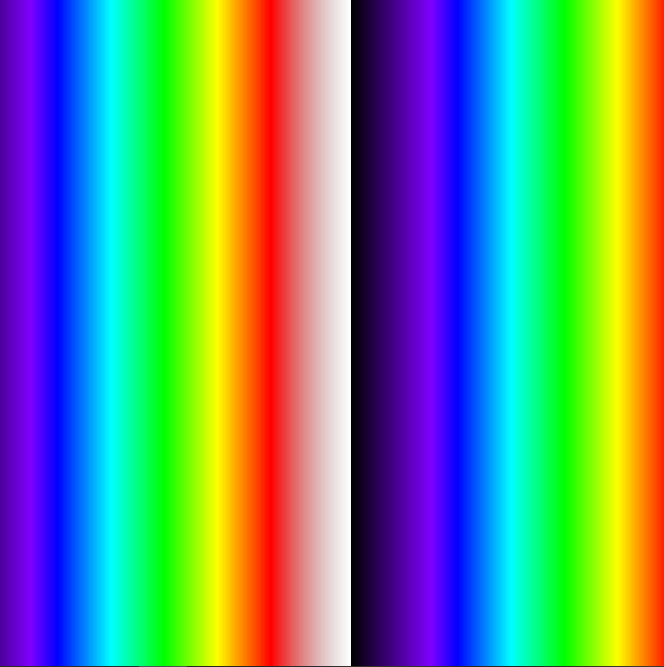
Power seems to determine how powerful the colors are within the noise. It’s on a scale from 0 to 4, however a power of 0 will not show you anything.
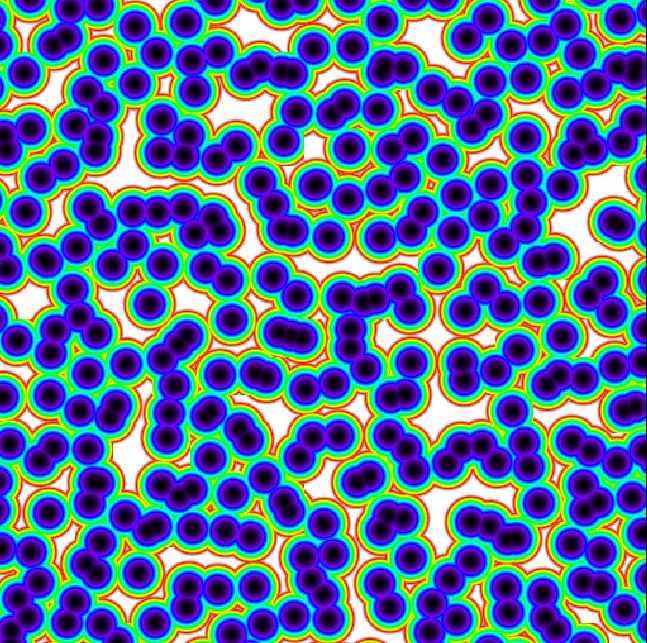
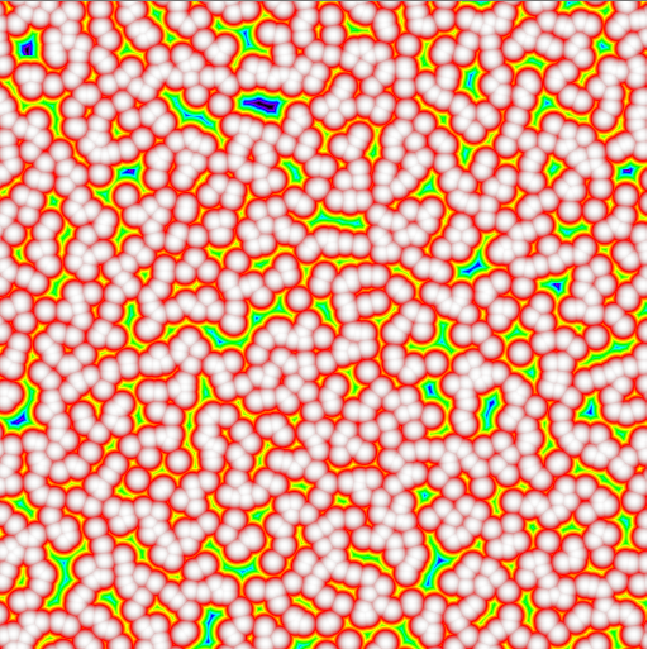
Power of 4:
Power of 0.2:
A Power of 4 used as a heightmap makes a kind of neat ocean:
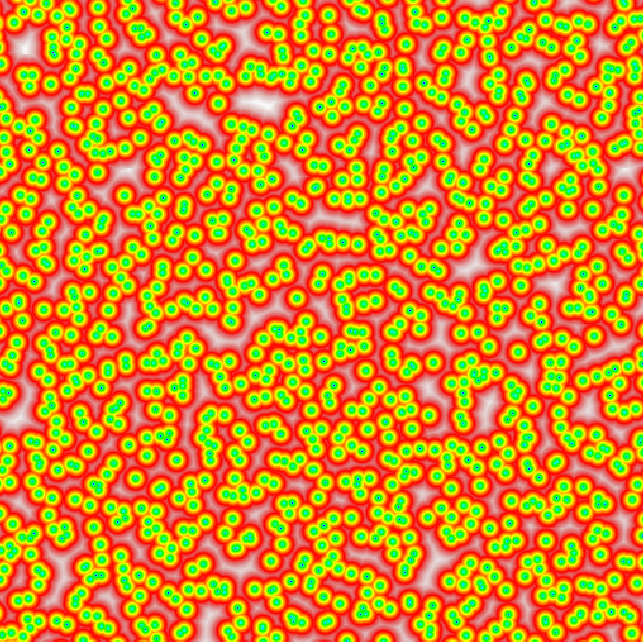
Multiplier
The multiplier is on a scale from -2 to 2 with a default value of 1. However in my test it looks like the only thing that matters here is if the value is positive or negative. Since the positive value is used in the default, here’s the negative value:
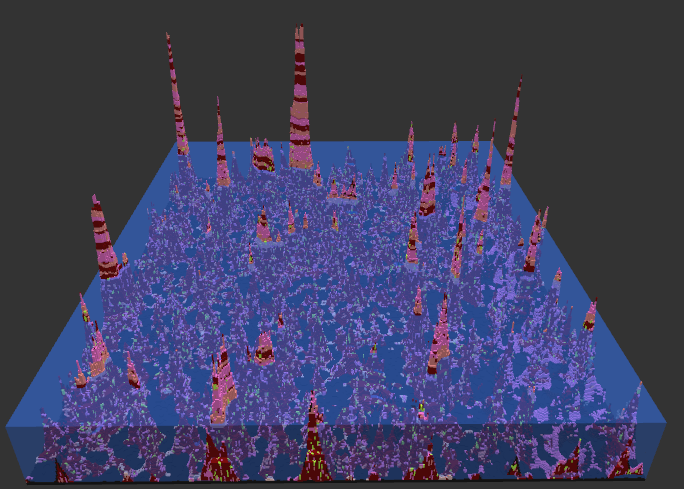
A heightmap with a negative value seems to spawn a bunch of tall but slightly round mountains:

To add some of these together, here’s a heightmap with a negative multilplier, a cellCount of 1, cellScale of 2, and a very low frequency:
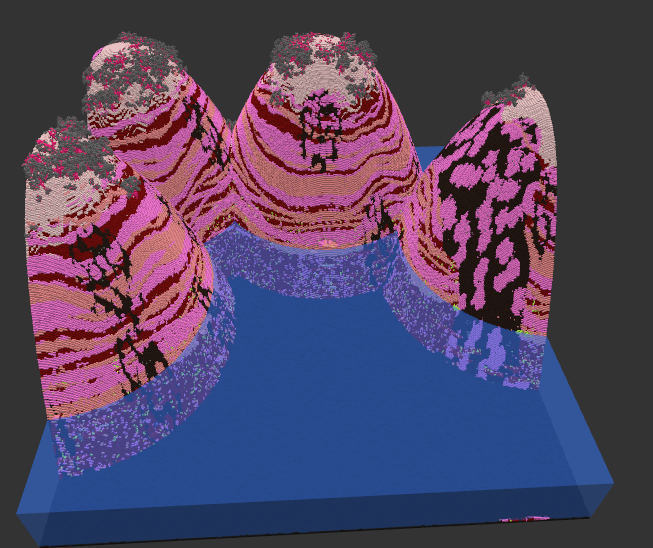
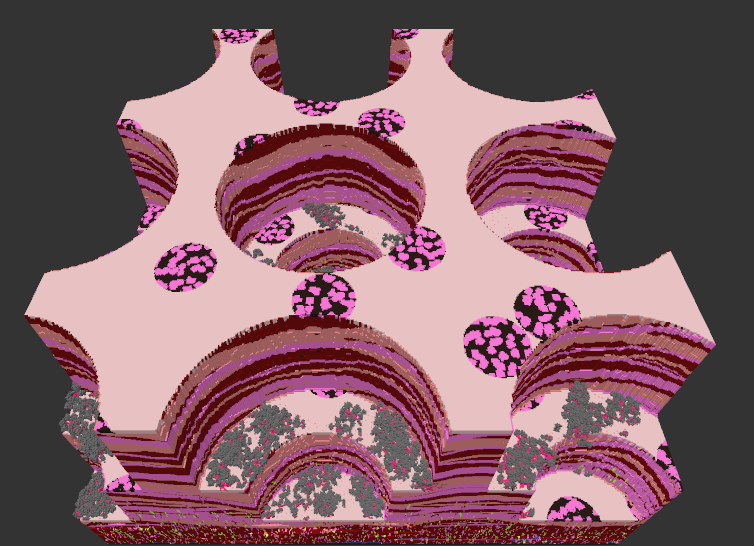
Adding multiple components seems to be where the multiplier and power variables really shine. Here’s something I’m coining “ice cream cone mountains”:

Set up:
Image
Image noise is perhaps my favorite because it’s not nearly as random as the others. Image noise takes an image you specify and attempts to create noise out of it. There’s a folder called “images” in the world builder config files that has some images prebuilt by the devs BUT you can load your own too! Just note that they need to be saved as a PNG to work.
For example, I took a circle image off of the internet:
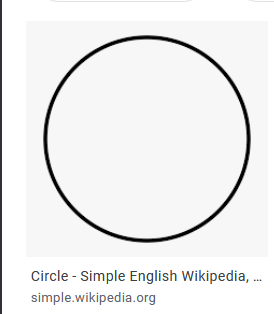
And because the image was black and white the image visualization was too. I was going to make a plea to Luca to ask for help in getting color onto this thing but figured I’d try something out myself. I opened the image in paint, added a second circle, and used the pencil tool to touch up the pixels that got left out. I intended to color it red (higher) in the middle and green (middleish) in the outer ring:
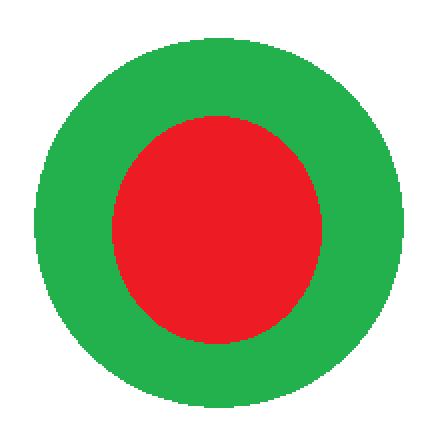
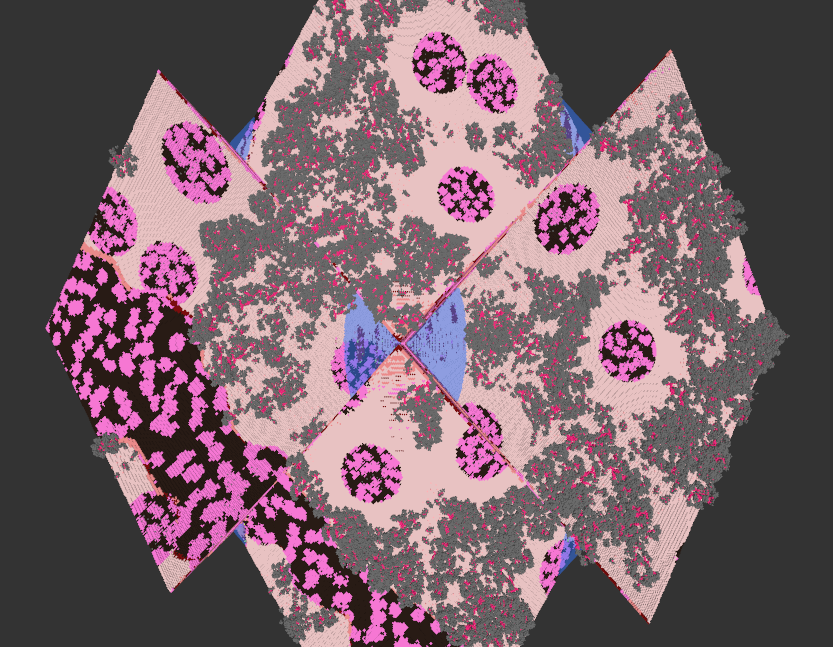
When I loaded this up as a heightmap though…
My middle ring was lower than the outer ring and there was a max elevation kind of cut-out shape surrounding my rings. The reason for this is because adding color to images makes them grayscale when you load them in worldbuilder. Darker grey = deeper and lighter = higher. So I decided to keep the middle circle lighter but I colored the outside black and ended up with this neat looking map:

This was a pretty simple example but you could really take this and make your own crazy images in full grayscale to match a heightmap and make some really cool stuff!
As with the other noises, higher frequency = more of your image but smaller, lower frequency = less of your image but larger. And I’m not sure what sampleMode does, it seemed to not make any perceptible changes when I messed with it. My guess is it has something to do with the world generation when using your image.
More noises to come in the future


