Introduction
In the last few weeks, since the 144 release, there have been a lot of questions from new and returning players about how to play this game. This guide is dedicated to all returnees and new players who like to play boundless after the 144 release. This guid will also be released later in german language here (work in progress).
I try to make this as “example driven” as possible to give players a “step by step” guide how to start. Never the less I’ve played a lot in the past weeks and therefore, my skill levels are and bounties are much higher than from a beginning player (especially coins).
Be aware: A lot of things changed in this release. There have been several server wipes since the “old JS” times and you will most likely start with a blank new character.
You are born
If you start the game, the first thing that happens is that you will be asked for a “home world”. This is location specific (EU, US West, US East, Australia) but you can select whatever you like (e.g. if you like to play with a friend from an other region).
Be aware: If you select a location that is not your real location (e.g. you are in EU and select US West) there is a chance that you have bad pings and you get rubber-banding.
After you’ve selected your location your will start at a random place somewhere in your “home world”. Your home world is part of a “galaxy” of other planets. Every home world has one moon and one “ring-world” which is the connection to other systems (other locations). On the ring worlds, you are able to change to other “servers” and visit e.g. the US servers if you are from Europe.
Hint: You can find a detailed map of the current systems and the galaxy here (Thanks at @Tacusin for his work) .
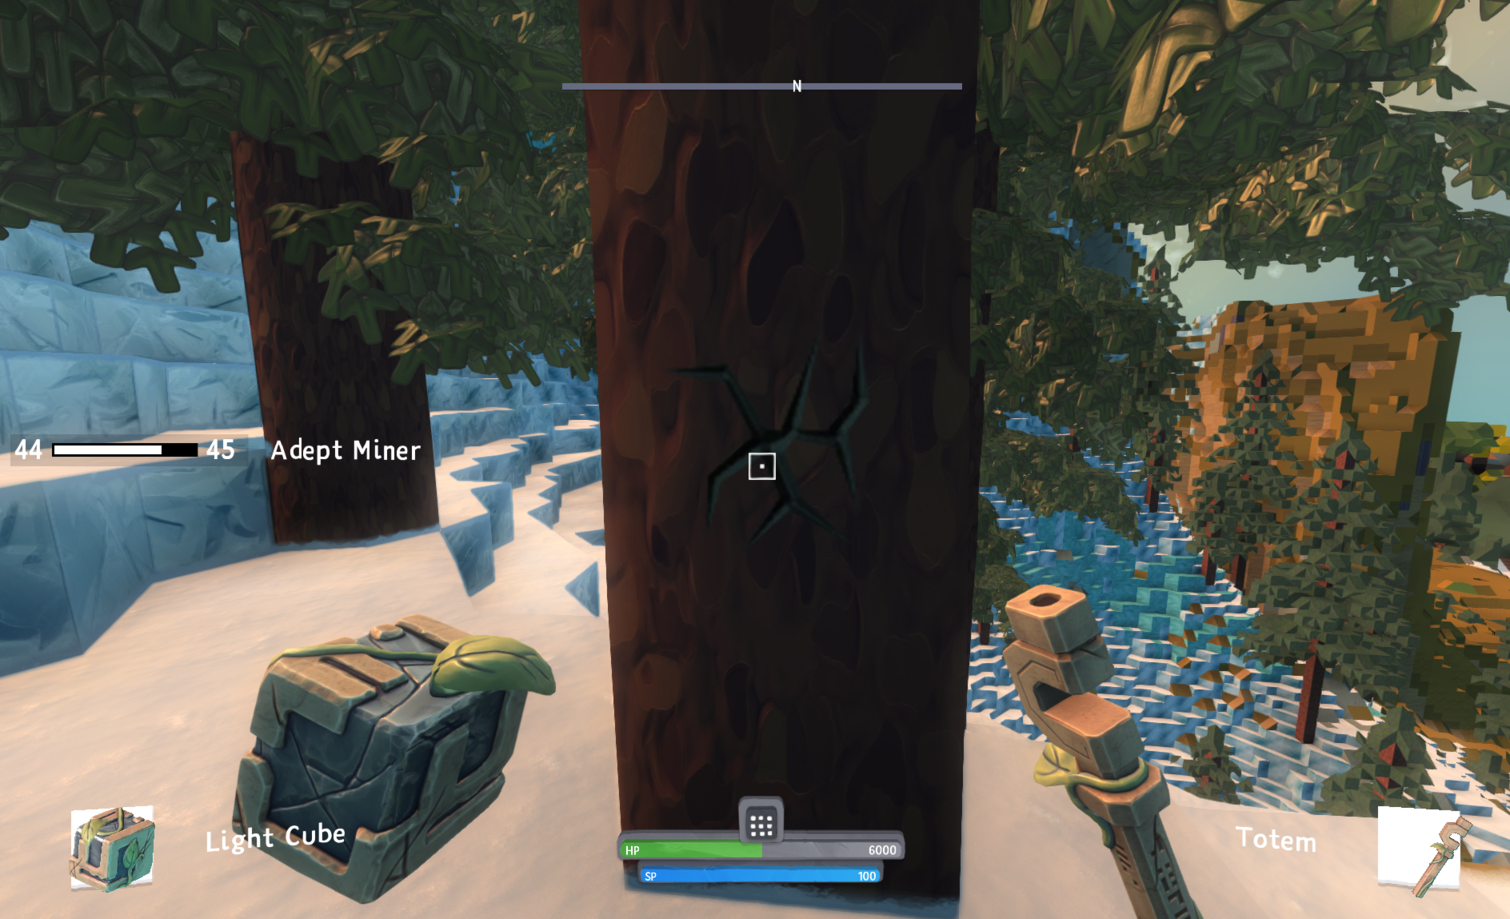
Let’s start our exploration with a short look at the game UI. If you start playing your screen should look something like this.
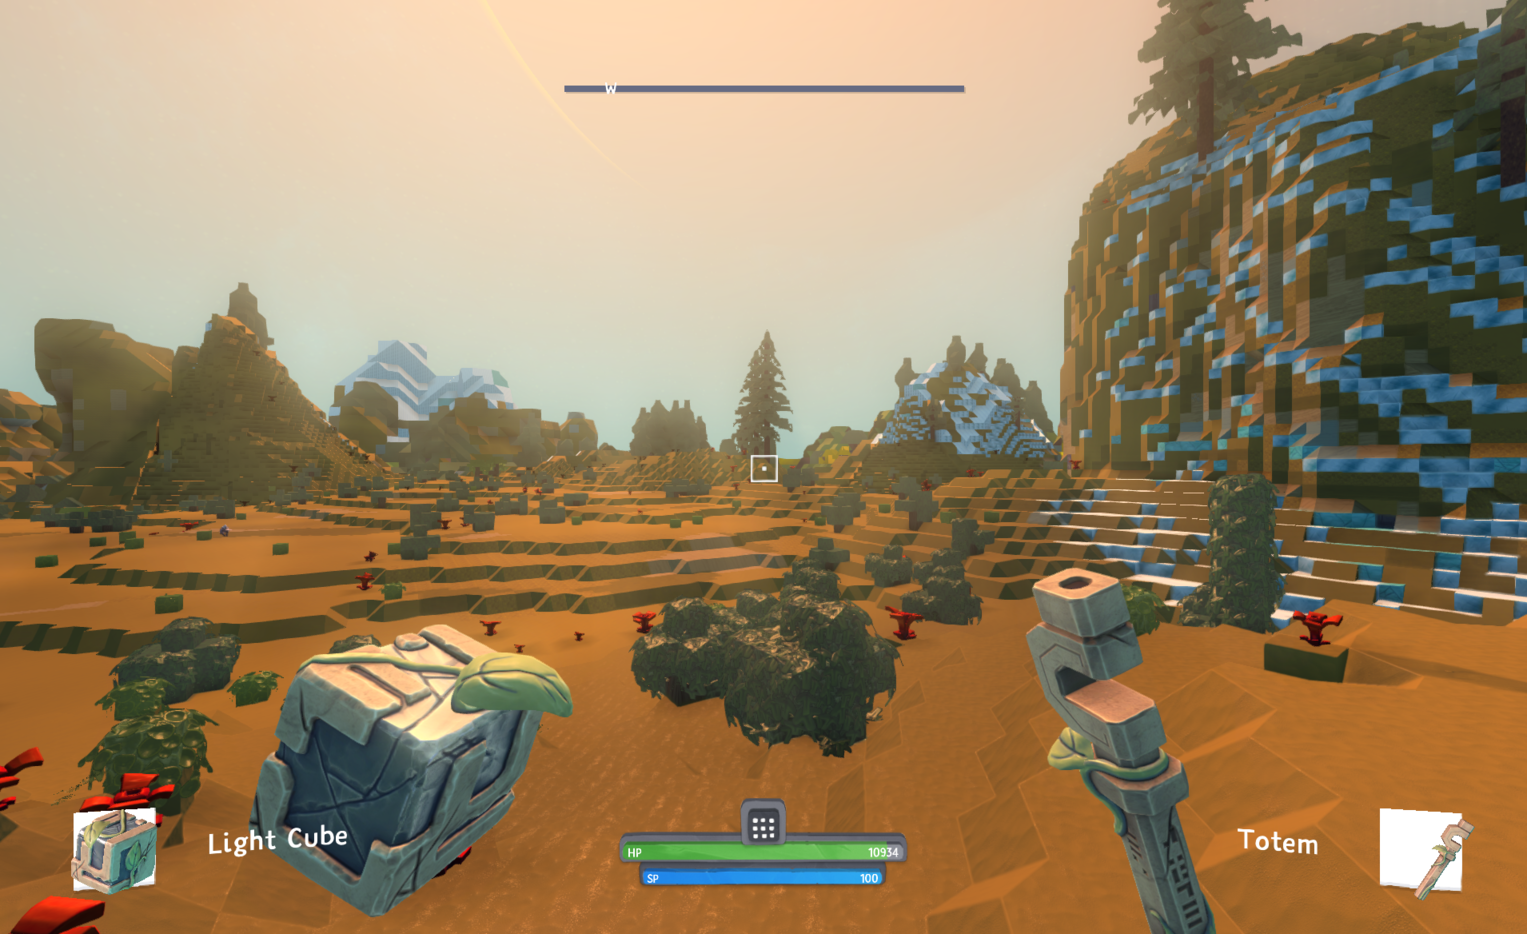
You may notice that you carry two different items in each hand. This concept is called dual-wielding. You can change both items individually but you can also scroll them together. This feature is extremely useful if you are exploring (e.g. carry a torch and a hammer togehter or an ax and a slingbow).
In the lower middle, you can see your life / HP (the green indicator) and your air (the blue indicator). You only use air when you are under water.
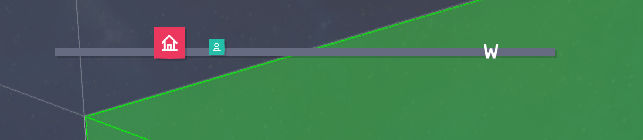
In the upper middle of the screen is your compass. This will show you player or beacons (more about them later) in your near area. You can also always see your own beacons in the compas.
Hint: The debug mode is extremely useful if you need to know your location in the world (e.g. if you like to meet with friends). You can open/close the debug mode with “.”.
Your Inventory
Let us go on with one of the most important menus in the game - the inventory. You can open the inventory with a click on “E”.
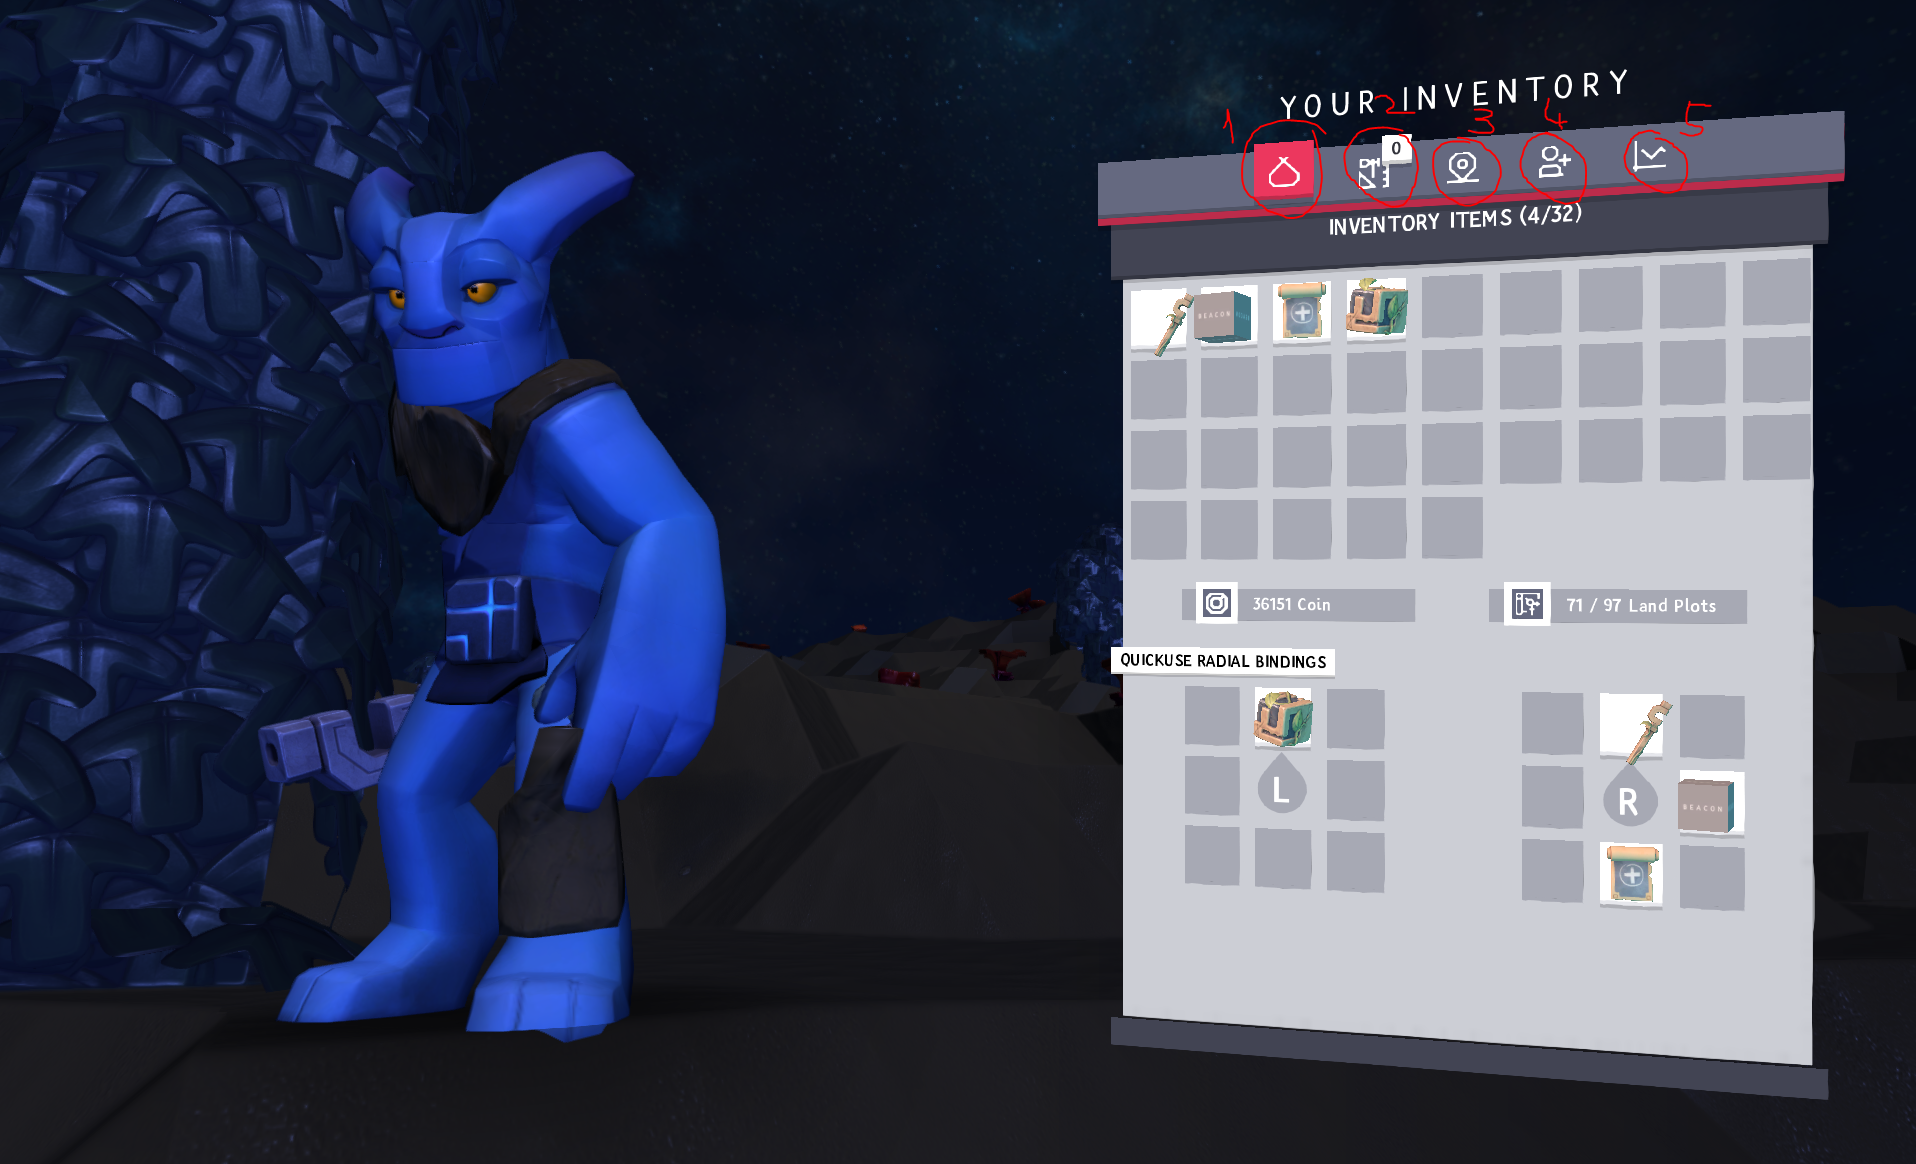
There are a few things from an interest in here. First of all, let’s start with the main tab (#1) which contains your inventory itself. You can see a lot of stacks that are more or less the same as in every other game you know. In the lower part of your inventory, you can find your “radial bindings” which define the items you carry in each hand. You can drag N drop items into your hands as you like.
Be aware: Items that you place into your hands use still space into your inventory. If you remove them from your inventory, you also remove them from your hands.
You can also find an indicator about your current “money” (named “coins”) and about the plots you can use for your beacon (more about them later).
Your first items (you get them from the start) are:
- Totem
This is a basic tool for mining and resource gattering - Light Cube
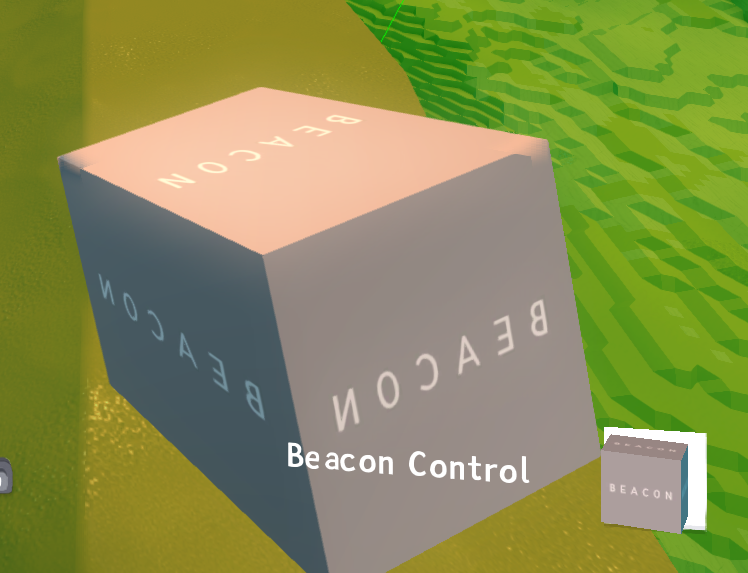
This is used for light. If you use it, will light up for a short duration of time. - Beacon Controle
This is the base of your shelter (more about this later) - Beacon Plotter
Used to enlarge your beacon
On the second tab (#2) you can find your hand crafting inventory. You can craft timber from a trunk or you can craft really basic tools (more about this later).
The next tab (#3) contains your saved locations. If you e.g. find an uncommon resource but don’t have the correct tool you can save the location of the resource and come back later. You can also name them as you like.
On tab #4 you can find your friends. It is (currently) necessary to “meet” your friends and “trade” a friend request with them. You can do this if you press “E” on you friend (he has to confirm) and change to tab #2 in the trading interface.
Last but not least you can find your skill levels of the professions on tab #5.
Work in progress: At the moment you can’t use your skill levels for anything. They don’t give you any advantage expects more beacons plots and coins on level up.
Find a shalter
One of the first things you want to do is to find a shelter. This should (for the first time) be a safe spot (to avoid attacks from predators). If you found a nice spot you place your beacon. Therefore you need to equip and select your “beacon control”. If you take it you will see immediately that there is a green “highlight” around blocks. Every beacon is a defined spot within a grid. The grid size is always 8x8x8 but you can place beacons next to each other with the “beacon plotter”.
Everything that is in your beacon is saved from the “world regeneration” (The world regeneration recovers the original state of the worlds after some time - this will ensure that every player can see the worlds as they were designed and without to much pollution) and is saved from access from other players (you can add your trusted friends to your beacon if your press “E” on the placed control block.
Hint: Everything that is above or under your beacon is “reserved” (even if it is not protected). It is not possible for other players to claim this plots.
Once you placed your beacon your have your “home” set where you can return if you need to craft items (excepts handcrafting, this works everywhere in the world). You can also extend your beacon with your beacon plotter (this is a double hand item). The new plots must connect with your beacon (or with other plots) horizontal or vertically.
Your beacon will also show up into your compass as a pink house.
Gathering resources
You found your shelter and you know your inventory, Time for fighting the wild. Let us start to collect some resources. In the beginning, the most important ones are “trunk” (from trees) and “rock” (from stone). You need to select your “Totem” and find a tree.
If you hit the tree consequently you will see marks on the tree. After some time it will break and leave items on the ground that you can collect. This is your first “trunk”. You need, at the beginning, around 20 trunks and 10 rock. Let us collect them. After you’ve collected the items you switch to the second tab in your inventory (the hand crafting tab).

You should see the items that you can craft. We need 5 Timber and 10 Sticks for the beginning. After you’ve crafted them, we like to craft a “Crafting Table”. This is the first machine that we use to craft more advanced items and machines.

After we made the table, we like to place it within our beacon. Therefore you equipt one of your hands with the table and place it in the beacon.
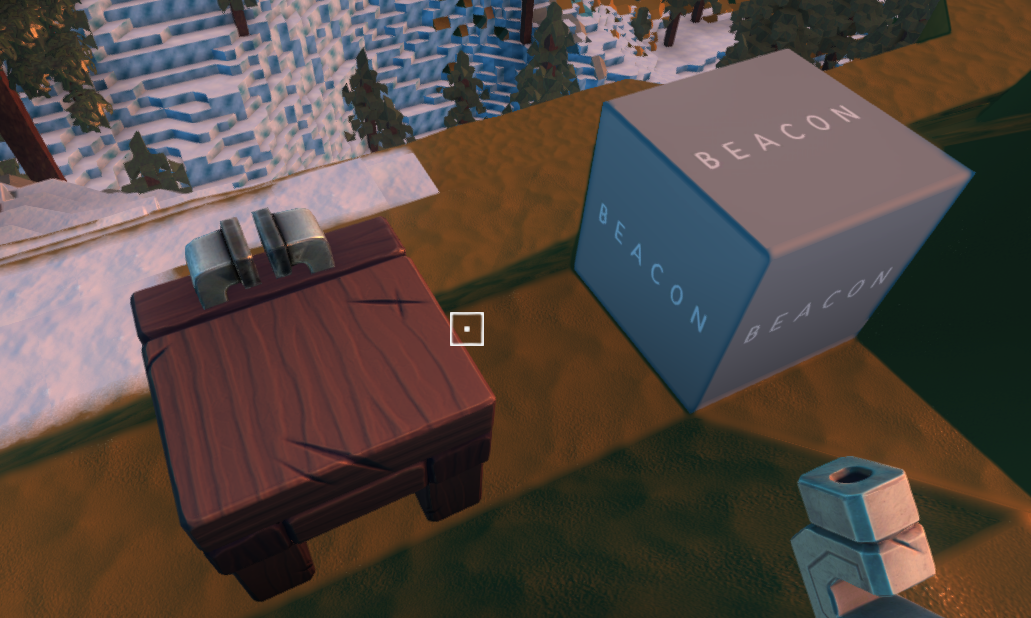
Now we want to create our first tools. These are more advanced items for mining. Therefore we open the table (again with “E”) and place the rocks we collected earlier and the sticks we handcrafted in the ingredient table of the crafting table. This should look like this:

Now we switch to the second tab and craft 5 stones. This will take some time. In the meantime, we can go and mine more resources for later use. In the third tab of the table, you can inspect the crafting queue. In the fourth tab, you can see the “results” from your crafting. There you’ll find the stones after they are done. Let’s pick them all and place them again in the first tab in the ingredients. Now you can craft your first “Stone Tool”
Hint:I recommend you to craft a stone hammer first because you need a lot of stone in the beginning.
The next item you want to craft is a “Stone Crucible” and a “Stone Fire Pit”. Let’s collect some more resources and craft them again in the crafting table.
Now you need to place items above each other as shown below. First, you need to set the “Fire Pit” and on top of the pit, you need to set the “Crucible”.
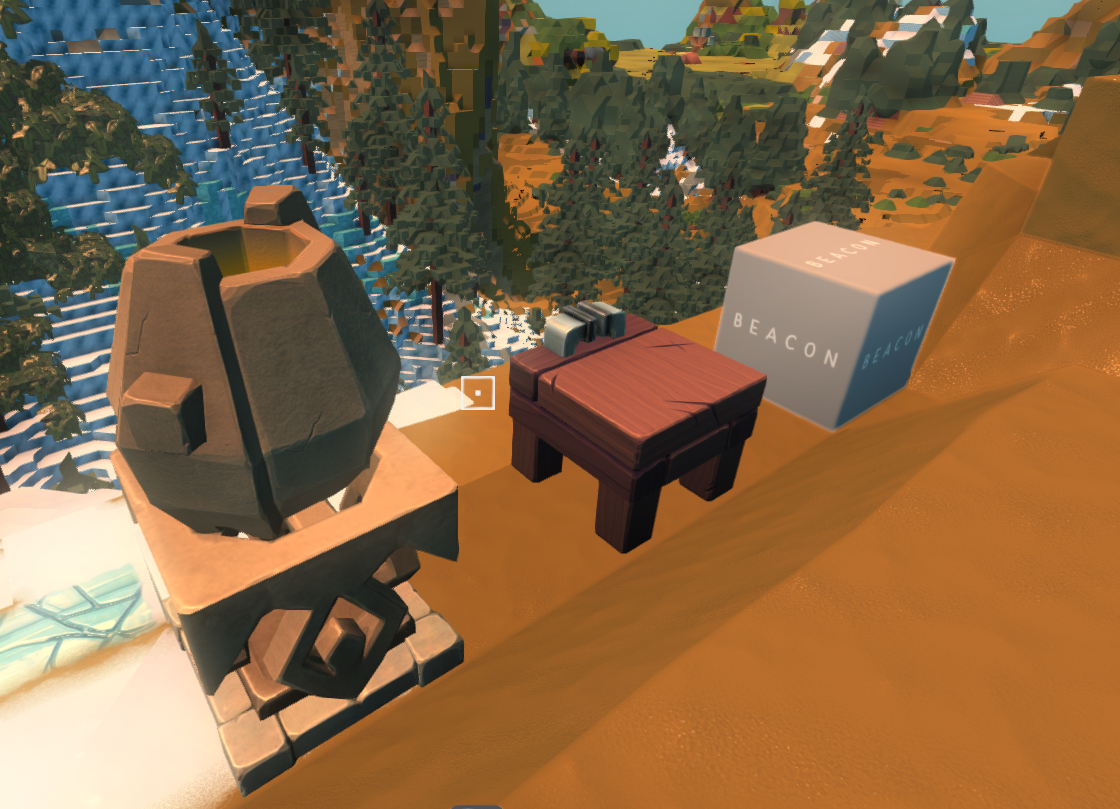
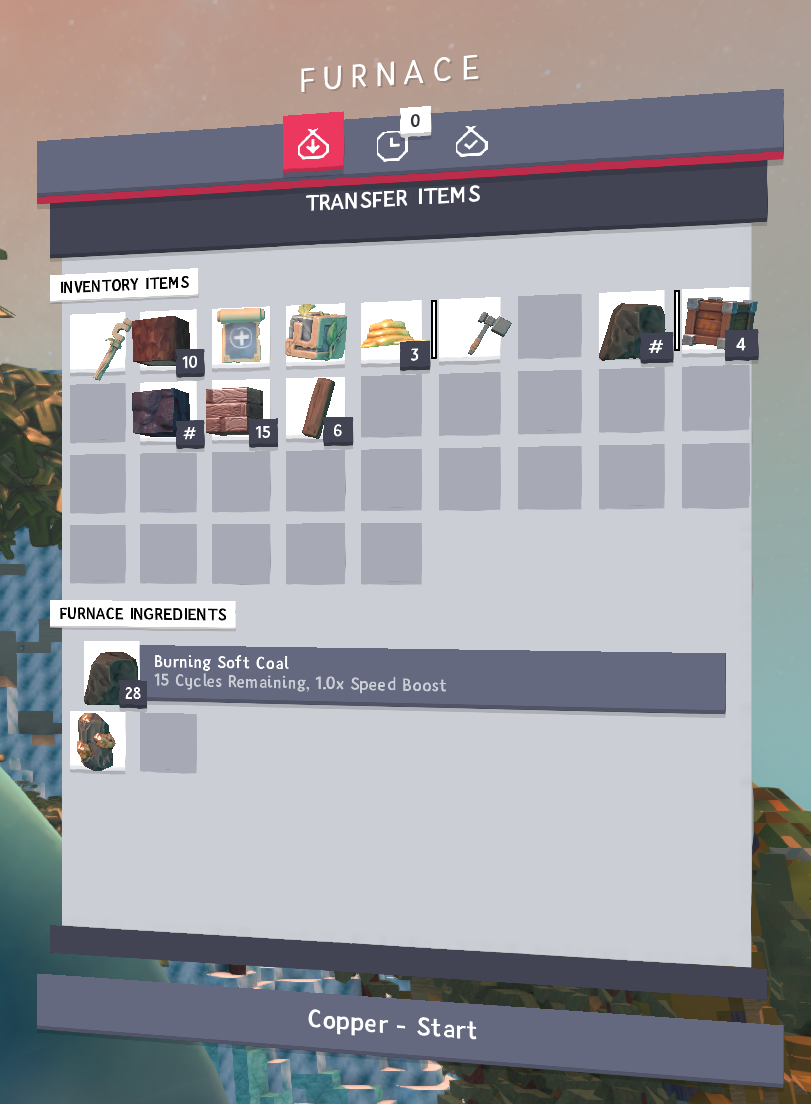
You are now able to create metals from ore. Therefore you need to collect ore in the world. They are easy to find in stone of any kind as shown below. You also need coal to fire the fire pit. After you’ve placed both in the pit, you can start the smelting.
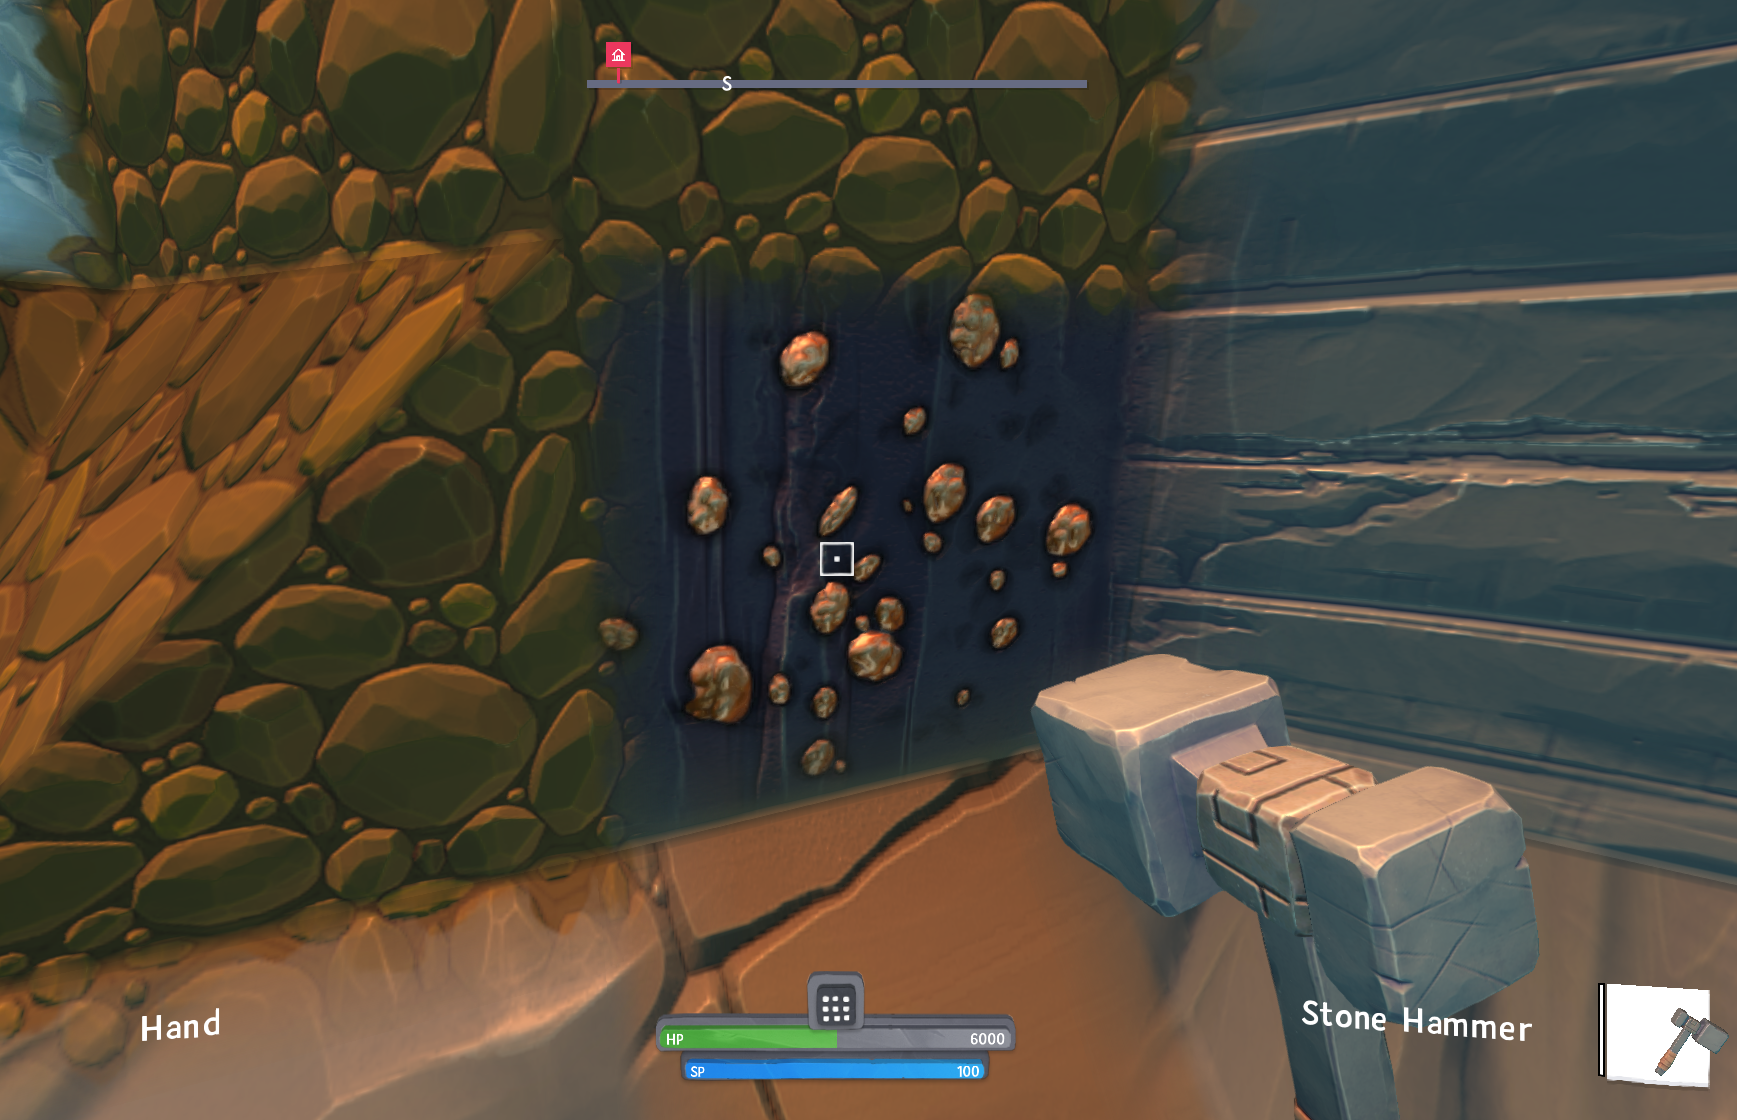
Be aware: You need “Stone Tools” as minimal tool level to mine metals, fossils, and tech.
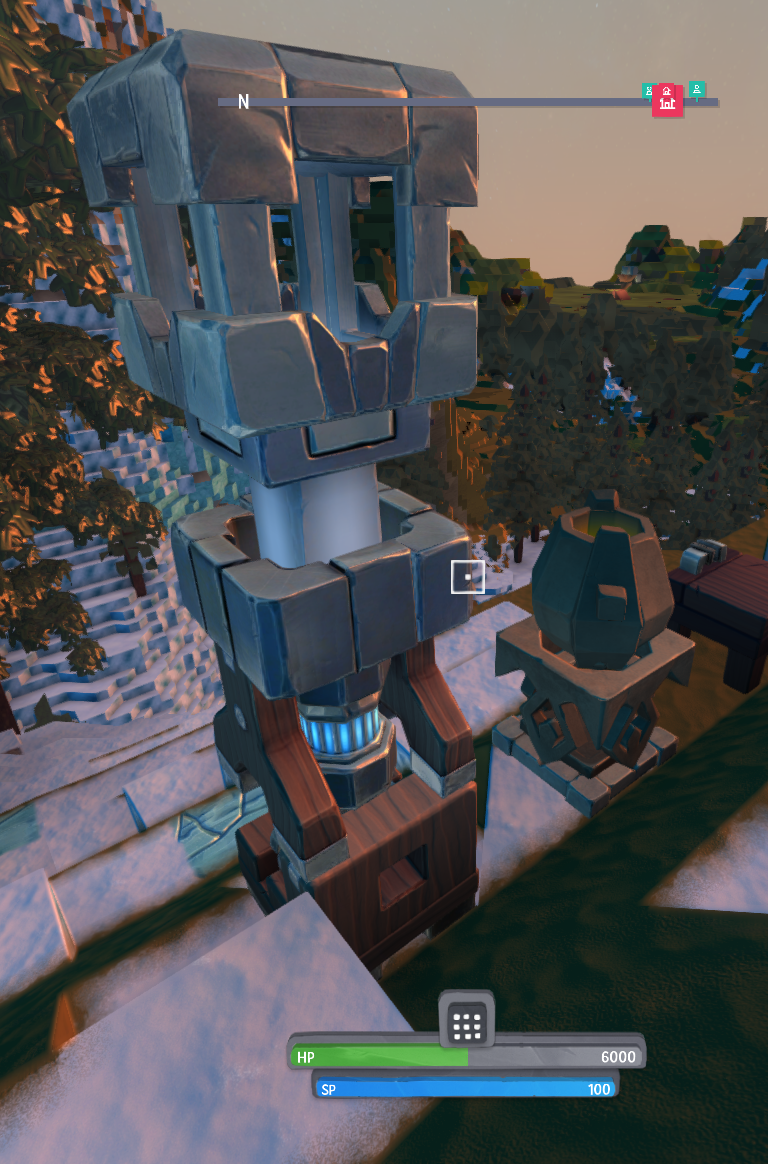
After you’ve melted a few metals you want to create a “Workbench” (don’t mess this up with another work table). The “Workbench” is by far the most important machine in your collection. It consists of 4 pieces which need to place to each other (on top of each other or next to next in any form).
This should be a sufficient guide for your base and crafting. It’s up to you now the expand your base and craft new machines.
Hint: You can find nearly all crafting recipes at boundlesscrafting.com (Thanks at @Stretchious for this tool). This will help you find your way with the different machines and tools.
You reached adulthood
After you’ve set up your first base and started to discover more recipes and tools you are now able to explore the world. Last but not least I like you to give you some tips / hints for your journey.
Hint #1
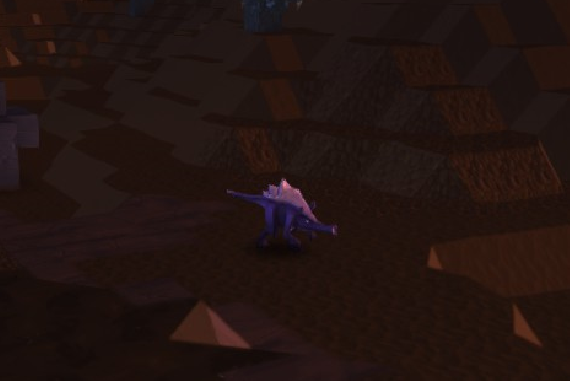
Avoid spitters (they are the current predators in the world’s) if you can. They are hard to fight in the beginning. You should always carry a sling bow and sufficient arrows for your self-defence.
Hint #2
Build together with your friends. It’s much more fun to discover and explore together. You can also ask in the forum. There are already a lot of “small towns” made by the community where you can start to build.
Hint #3
Use “Stone Tools” as much as possible. They are cheap to create and are useable for 80% of everything.
Hint #4
Craft “Mass”. Every recipe has three crafting sizes. The bigger the stack size is, the cheaper the production becomes. After you’ve created your first tools, try to craft bigger batches to save resources.
Conclusion
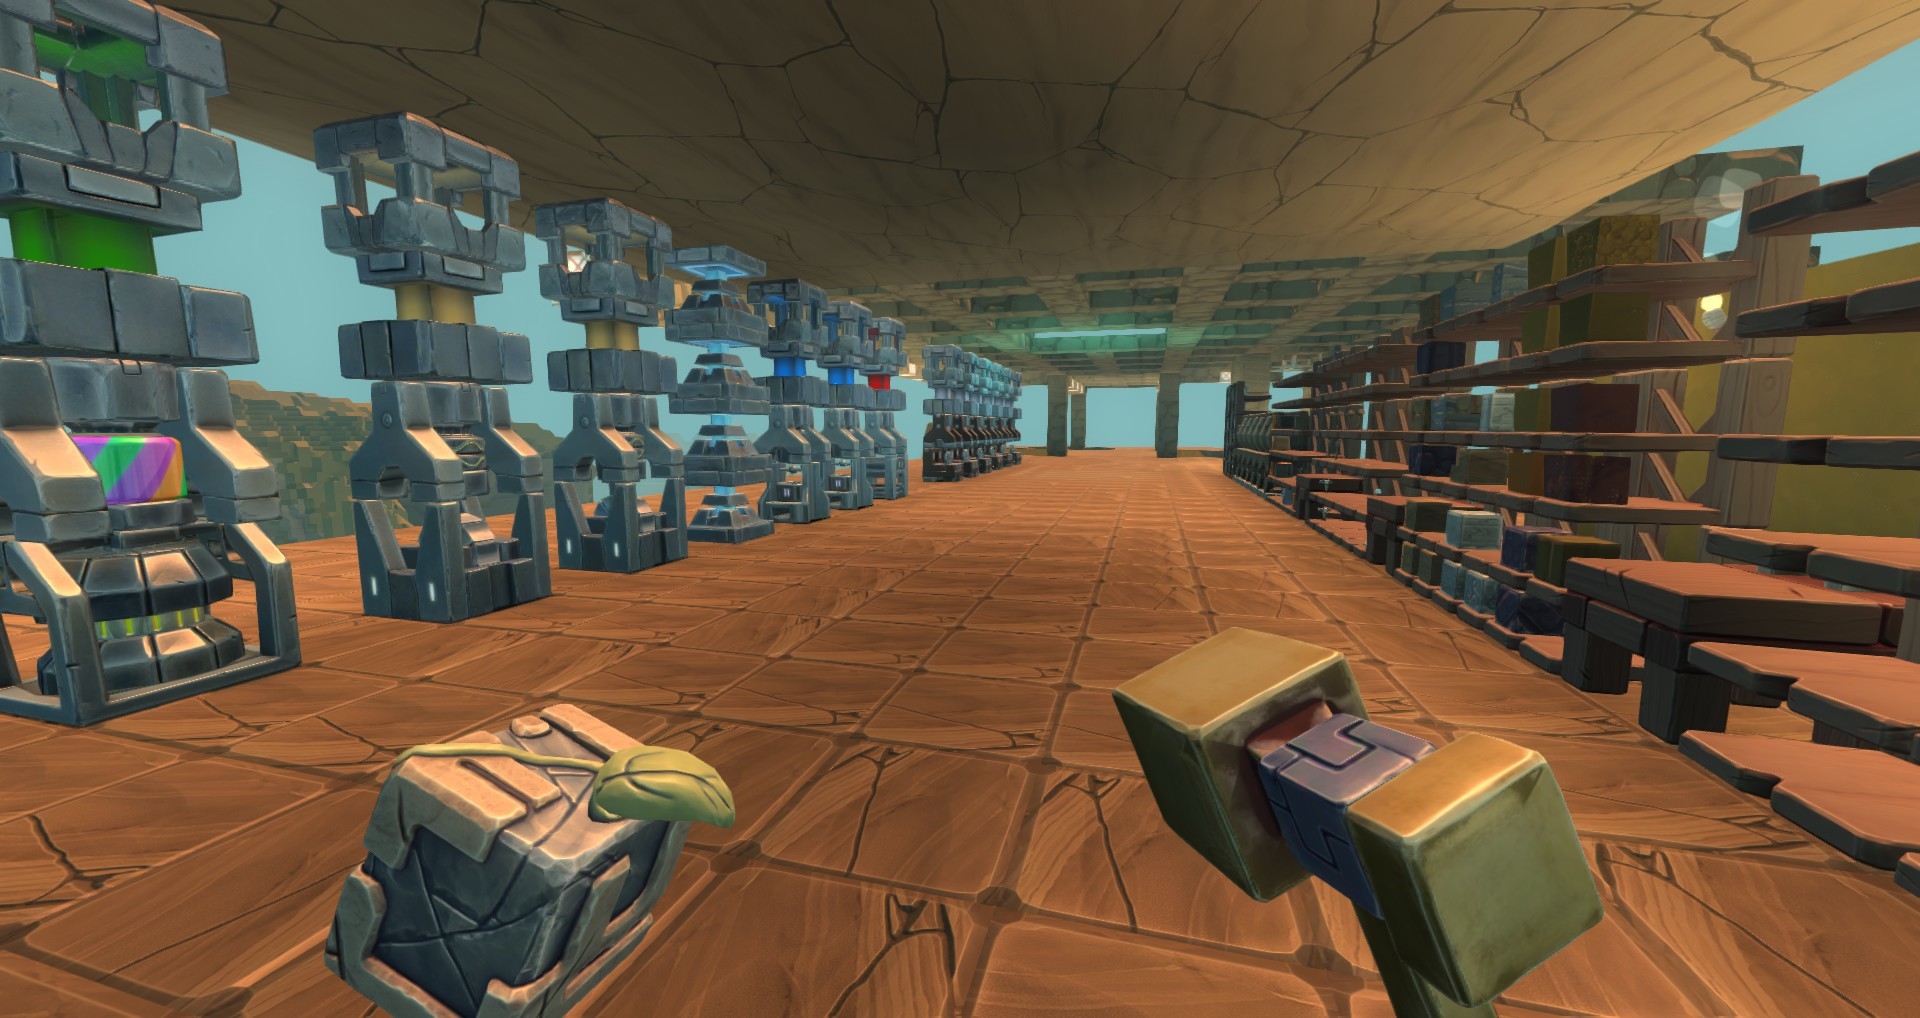
I hope I was able to help you find your way in the new version of Boundless. If you have any additional questions, feel free to ask me. Last but not least a small screenshot of my own base with my machine park ![]()