Looks like you’re getting shown a bunch of different setups and peoples explanations of why they are using them. So I am currently in the process of constructing my large scale (permanent) goo farms and dismantling my old “testing” farms and I figured while I had the top of the blocks still exposed I could get some screenshots. All screenshots are showing the top of the blocks as this is where the lava is hidden.

Above is going to be my main setup which is “planted on plain gleam” and “near lava”. Gives 75% seed and 215% crop which returns around 9 or 10 gleam per kernel. It allows me plant goo on a very different colour for lots of mutations, or plant on the same colour for no mutations. The lava boarders are 2 blocks wide, chiseled this way so I can remove gleam without spilling any lava and also walk on top safely if necessary. The gleam strips are 3 blocks wide
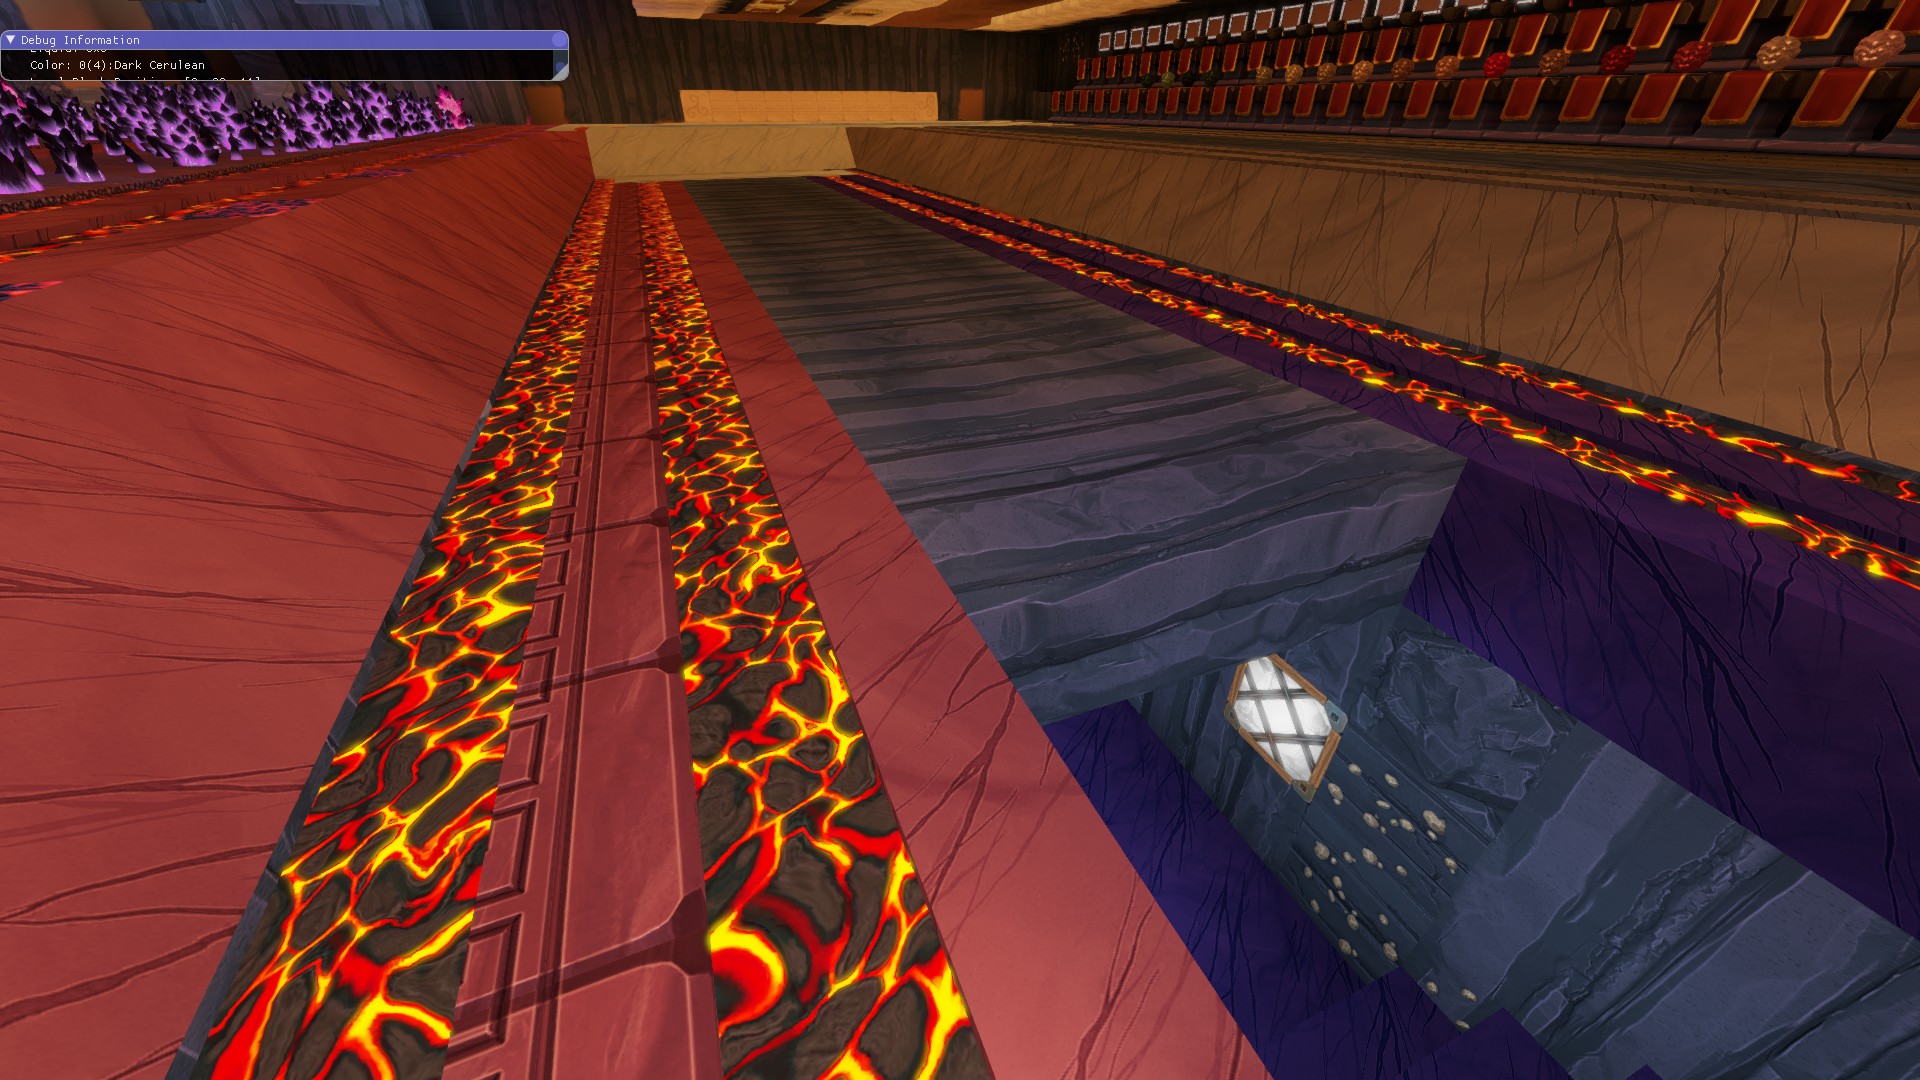
This is “planted on rock” with “lava near” which gives 80% seed and 220% crop which returns around 12 pigments per kernel but results in some random mutations. Lava boarder 2 blocks wide, rock strip is 3 blocks wide for planting.

This is “near lava and near growth setup” it can be “on rock” or “on gleam”. This is a lot of space taken up to achieve the maximum seed return so there probably are better setups but it worked, mine was basically growth 2 wide, rock for planting 1 wide, lava 2 wide and then mirrored The lava and growth had to extend past the rock to ensure the seeds on the end were maximised also.
This is primarily used on the rock version to maximise random mutations. as it will return about 17-18 pigments per kernel and will survive the most iterations. The gleam version will only return around 8 pigments per kernel but will also last a large number of iterations so it could be used for targeted random mutation.